


DIY stairs: Before & After


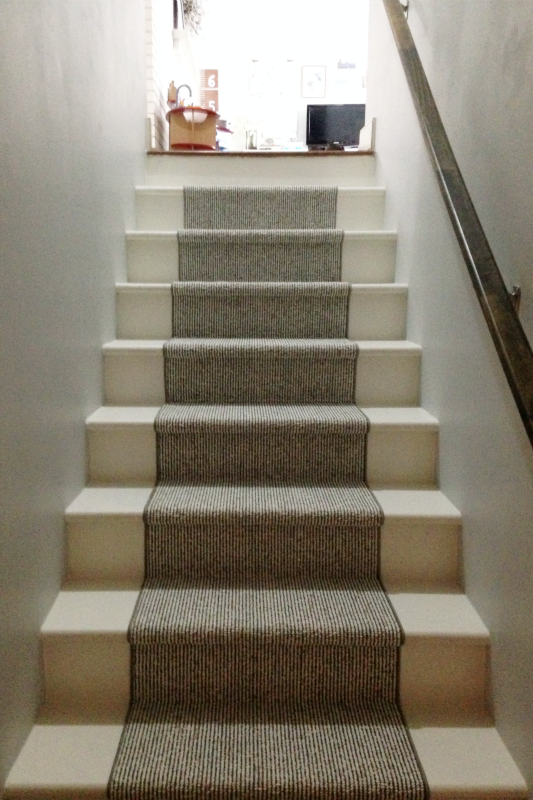
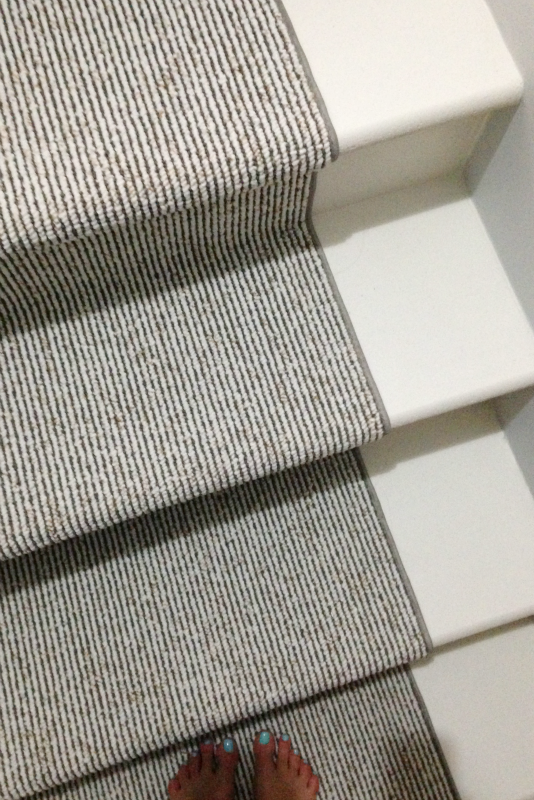
I love the runner. I wish I'd been able to purchase a third to continue the look to the very top of the stairs, but these are basement stairs, so it's really no big deal. I used a measuring tape to make sure the runner was centered, then stapled it in place under the lip of each stair, and where the treads and risers meet. The runner has its own rubber backing, so it's holding in place well, and I was able to get a nice tight fit with my staples. I used silver, heavy-duty staples and they're not noticeable at all.
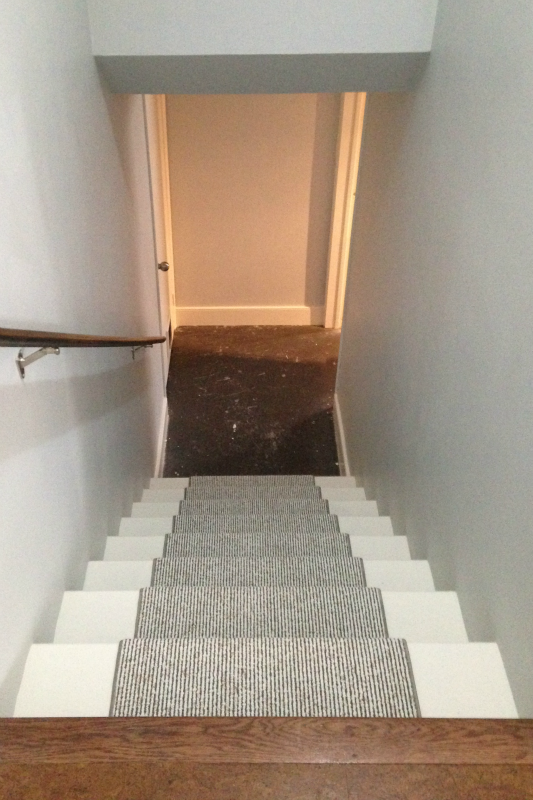
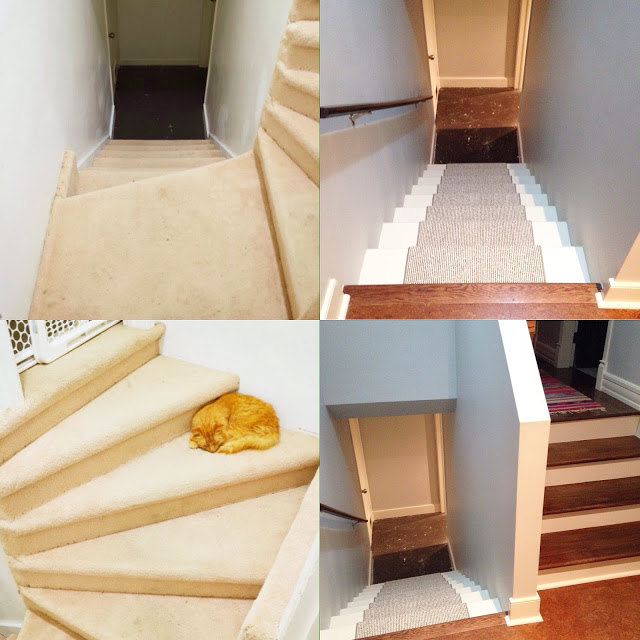
I added new baseboards at the base of the stairs – a small, but noticeable improvement in my opinion. I still need to repaint the floor, but I haven't had a chance to get to the store for paint just yet. Even with the scratched-up floor, it's a huge improvement from where we started:
Read more at House Pretty
Source: http://house-pretty.blogspot.com/2016/01/diy-stairs-before-after.html
