
| Online: | |
| Visits: | |
| Stories: |

| Story Views | |
| Now: | |
| Last Hour: | |
| Last 24 Hours: | |
| Total: | |
DIY Rub-on Transfers for Wood, Paper & Fabric
Sunday, January 29, 2017 17:00
% of readers think this story is Fact. Add your two cents.
Let's talk words, guys.
I'm a huge word person. If you hadn't noticed with all the quotes, lyrics & typography that fills all my home decor, I'm a little word-obsessed.
I love the simplicity and impact words can have in a room. And they are the single best way to bring personality & a unique-ness that is all you to the way you decorate.
But sometimes you just want an easy way to get those words onto your project.
Am I right?
Hence, today's DIY method that I'm currently obsessing over.
If you're looking for the easiest way to to transfer words to various surfaces EVER, then you're going to want to keep reading.
This is not a new method to the internet.
But it's worth repeating because I think we sometimes get stuck in habits and it's nice to be reminded of other ways to do things 
I still love to make my own stencils and hand-paint but this method comes in handy for so many things- especially small projects that you want to get done quickly.
Let's talk what this method is best for:
-smaller items that you are wanting to add words/images to
-adding images without a lot of details (I'll explain this one further below)
-it can be used on wood, fabric & paper but has better results depending on what color/medium you are working with.
Let's talk wood.
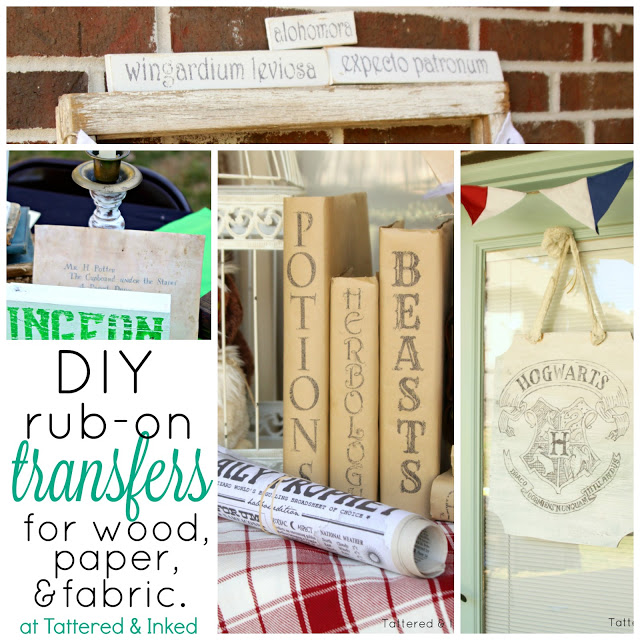
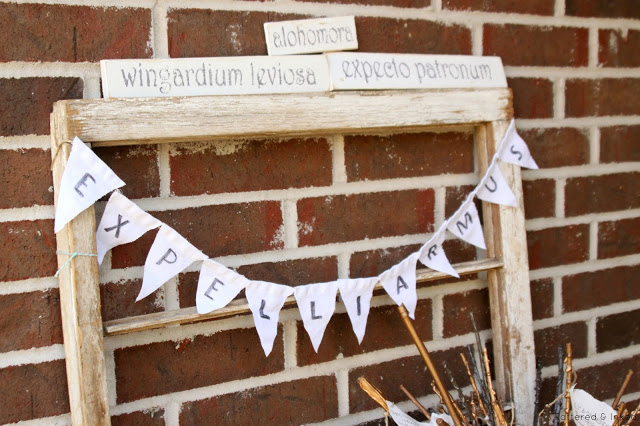
Remember these cute little spell blocks I made for the Harry Potter Birthday party last weekend?
I came up with the idea for them on a whim & literally created them in about 5-7 minutes with this method.
Let's walk through the steps together, shall we?
First up, here are supplies needed:
*Wood/item you are transferring to.
*Clear transparency paper (like you would use on old-school projectors)
*Regular ink-jet printer
*Popsicle stick or credit card (for transferring)
*Image/text you are wanting to transfer
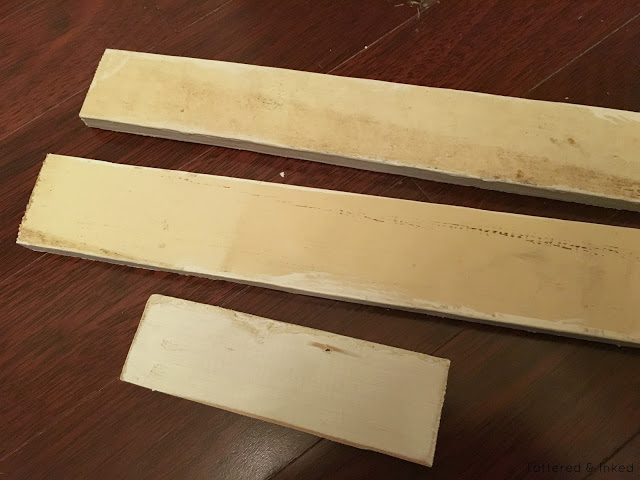
For this project, I used already painted scrap pieces of wood.
They had been painted a creamy white at some point and I sanded them down for a smooth surface. This transfer method definitely works best with a light colored background- I've done it on white and light blues with great results.
See below for pictures of this method used on stained wood.
Step 1: Create/find your text or image you want to use.
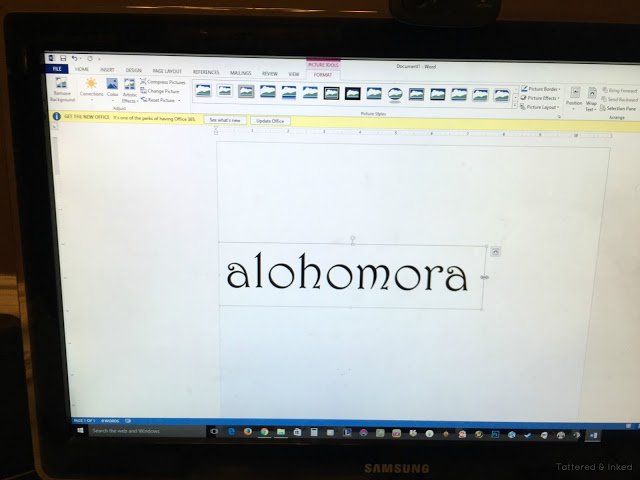
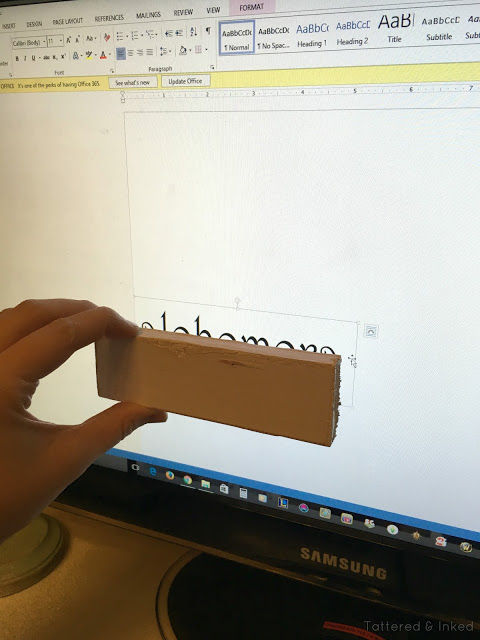
For my blocks, I simply opened a new word document on Microsoft word and found a font that I liked (this one was called Harrington).
Type your letters on the screen and then make sure that you're screen view is set to 100%
(This number can be found on the bottom right-hand side of the screen)
This is very important for making sure you print out at the exact size you need.
My very non-scientific method of checking the size is by holding my item up to the screen and making sure the letters fill the item but do not extend past any of the edges.
Again, make sure your view is set to 100% or the sizing will be off.
Once you're satisfied with your image and the size, load your transparency paper into your printer.
You can order this on Amazon, buy at a local office supply store or snatch up at a school yard sale (like I did!!).
If you have a super fancy printer, I can't guarantee the results but my printer is a regular ink-jet printer (it has the various cartridges for multiple colors but is just ink-jet).
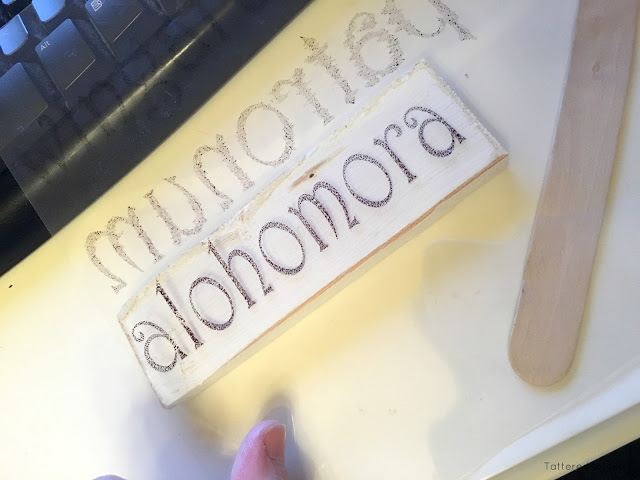
Print your image/text in MIRROR image onto the transparency.
For my computer, this is found in the printer settings and I just click 'mirror image' in the advanced printer settings.
Word should have a setting in it as well to reverse the image.
Lay your printed text onto your item you are transferring to.
Mine was a wooden block.
Make sure to lay it down carefully & avoid smudging the ink.
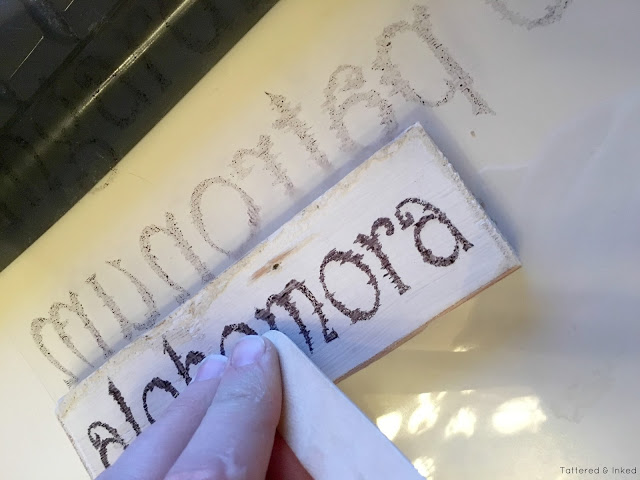
Once placed on your item, hold firmly with one hand while you burnish the image onto your item with a Popsicle stick or credit card.
You will notice the ink start to flare out at the sides as you move your stick across the ink.
That's ok, just avoid moving your paper so it won't look cloudy.
I rub over the image several times, in various directions.
Then carefully peel the transparency paper up and off.
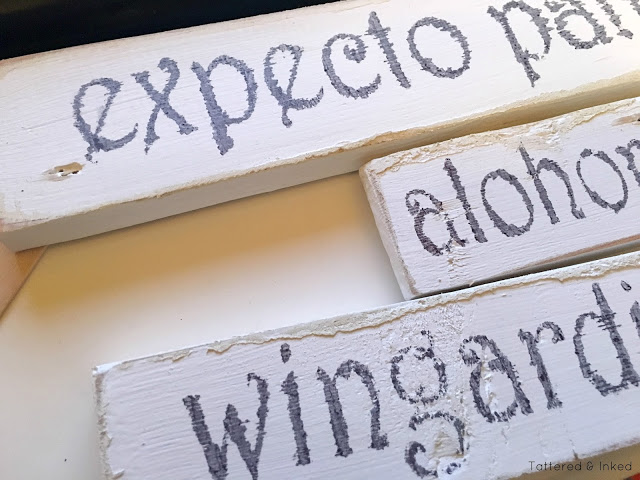
You should have a beautiful, slightly lighter version of the text you printed.
The process gives it a beautiful, already distressed look after rubbing it on.
For further aging, take a fine-grit piece of sandpaper and rub across.
If you want a darker, more 'perfect' finish, trace over it with a black sharpie.
Personally, I'm a big fan of the slightly grey, worn look it leaves behind.
That was all it took to finish my spell blocks.
They were ready to go!!
Here's a few other items I've done this same technique with & some tips on how I was able to transfer to different surfaces….
Remember when I said to use a simple image rather than a complicated one?
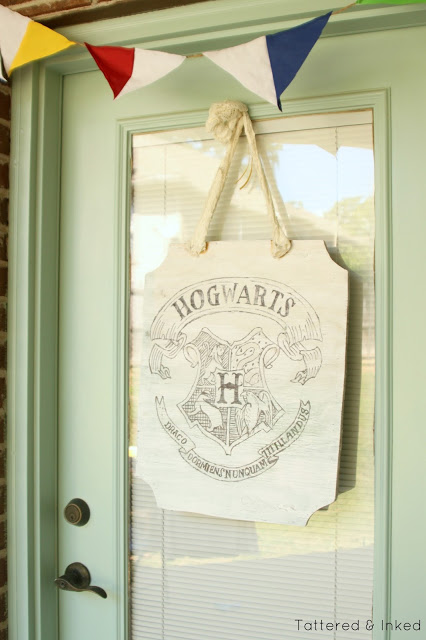
This Hogwarts sign was a little more time intensive because after transferring, it was a very faint image without a lot of the detailing transferring over.
This Hogwarts sign was a little more time intensive because after transferring, it was a very faint image without a lot of the detailing transferring over.
I used the original image as reference and the faint lines on the wood from the transfer to use as tracing points with a black sharpie.
I used the sharpie to go over the entire image and add in the line/checked details.
After tracing, I lightly sanded it to smooth out any imperfections and to 'grey' it out more.
I don't like the look of a stark black sharpie line so I prefer to distress it a bit.
Now this was a totally different paint & wood combination that the spell blocks were.
Plus a VERY complicated image.
So your results are going to vary a bit depending on what you're working with.
Just play around a few times to get the hang of what works best.
I've also used this technique many times to transfer directly onto paper.
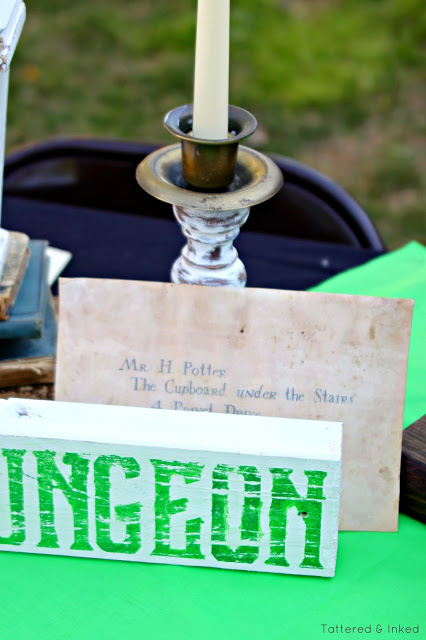
Sometimes I just don't want to mess with putting things, such as these envelopes, through the printer or I want something placed EXACTLY somewhere and don't want to deal with the headache of placement & the printer trying to frustrate me.
So follow the same steps as above and place onto your paper.
It usually gives a darker image than it does on wood since it's more porous.
I've used color ink successfully on paper too- it's lighter than it would be if printed directly onto the paper but it works.
The above image was actually an envelope that I hand-dyed and it still transferred the text perfectly.
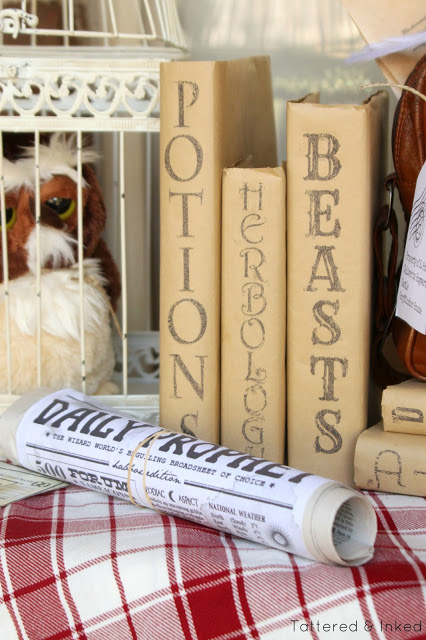
I used the same transfer method to make the Hogwarts Textbooks.
These were transferred onto regular brown wrapping paper.
Perfect, distressed lettering every time!!
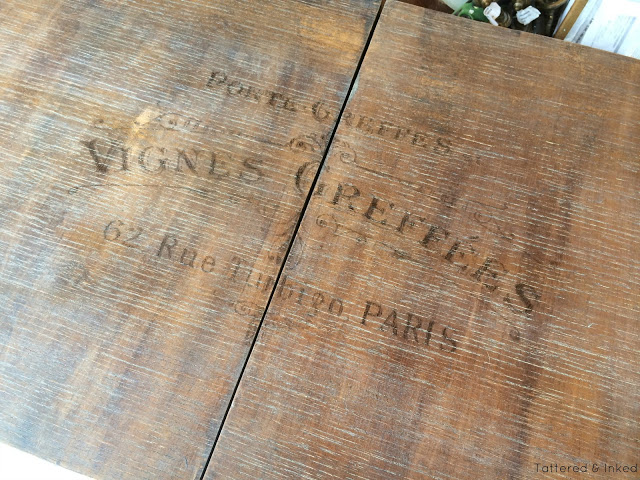
I used this same rub-on method for the vintage-inspired table I shared several months ago.
This time it was transferred onto wood that had been sanded, stained and waxed.
And it was a slightly more complicated text transfer.
It still transferred beautifully with no touch-up required.
But it is NOT a dark image against the wood.
It's faded and looks like it's been there for years 
Which is exactly what I was going for!!
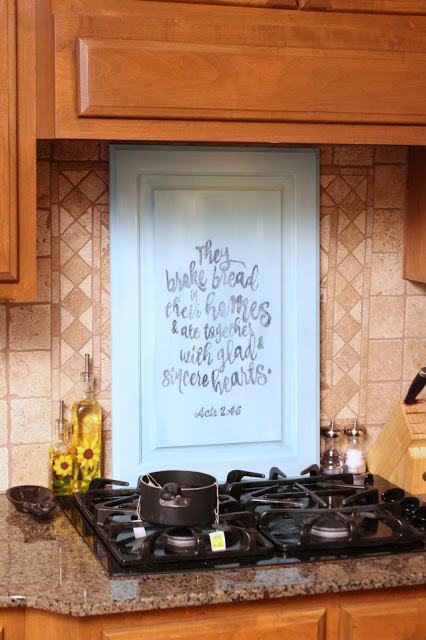
For an example of it not going exactly as planned,
I figured it would transfer perfectly over to this blue painted sign I had made.
But it was a bit temperamental for whatever reason.
After transferring, it was very faint (Like the Hogwarts sign had been) so I did go over the whole thing with a black sharpie.
After tracing it, I sanded it down for a lighter, distressed finish.
This takes away any imperfections made from tracing.
So there you have it on wood & paper.
But it can do even more than that!!
Check back tomorrow to see how I used the same method to add wording to fabric!!
You'll love the makeover I was able to do with it!!
Are you ready to start transferring now?
It's seriously so easy- just keep practicing & perfecting your technique!!
Happy Friday, friends- I'm sure glad it's here!!!
Like me on Facebook. Follow me on Pinterest. Subscribe to my feed.
Linking to:
If you like this post, I’d love for you to support my site and come visit. Thanks for reading!” Link: http://www.tatteredandinked.blogspot.com/
Source: http://tatteredandinked.blogspot.com/2016/04/diy-rub-on-transfers-for-wood-paper.html


