

| Online: | |
| Visits: | |
| Stories: |

| Story Views | |
| Now: | |
| Last Hour: | |
| Last 24 Hours: | |
| Total: | |
Cute and Cozy Children’s Pants {Super Easy Sewing Tutorial}

Back in November, I made Little L a new pair of pants with an improvised pattern. I got the idea for this project from Little L’s favorite and most comfortable pants he has ever owned. I wanted to make him another pair just like them but with some flannel shark fabric he picked out. Hey, I have to feed support his love of sharks!
I really like how fast, easy and cute the pants were (in fact, I used this same method to make his Santa Lucia pants in December.) I was able to make these from start to finish within hours (I normally take days to sew something), so believe me when I say they are fast! I thought maybe some of you might appreciate a tutorial for a project such as this so I took a few photos along the way. I really planned on sharing this quite some time ago but completely forgot about it. My friend just brought it back to my attention (thank you, Nicole!)
Cute and Cozy Children’s Pants
Supplies needed:
- your child’s favorite pants (that still fit or are just starting to become too short) to trace
- 1 yard of your choice of fabric (more of less, depending on the size you are making. I used less than a yard for size 3T pants)
- 3/4″ wide elastic
- thread and your sewing machine
First things first – before you begin this project wash and dry your fabric to prevent shrinking later on.
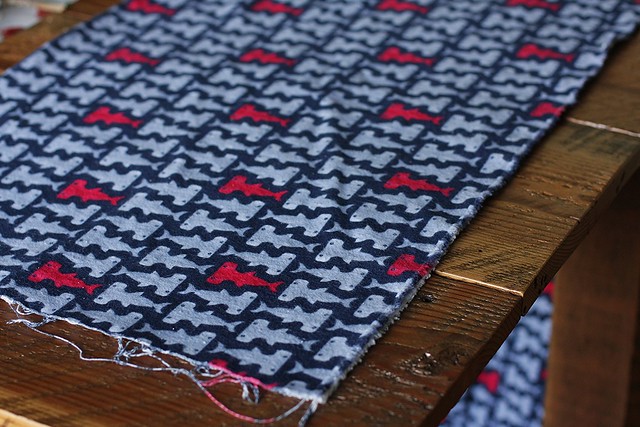
Once you have that out of the way, take your fabric and fold it in half lengthwise with the selvage edges touching. Right sides together would be best but it works either way. I chose to do wrong sides together for these pants so the fabric showed up better in the photographs. Iron the fold to create a crease down the center of the fabric.
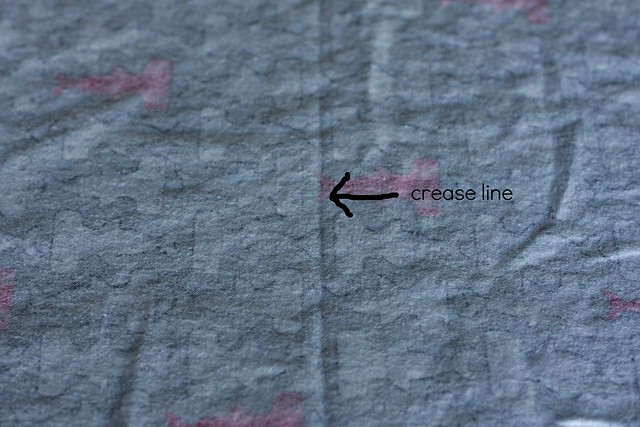
Now open your fabric back up to see the crease line (Let’s ignore my shaky arrow there, shall we?)
Fold the left half of your fabric (lengthwise, again) to have the selvage edge meet the crease you made in the center.

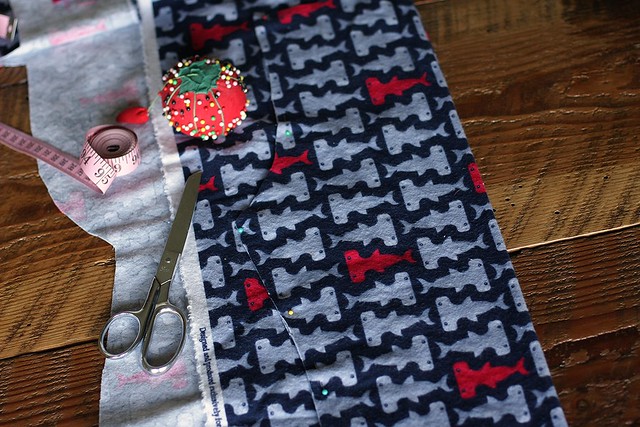
Place your child’s pants, folded in half, with the outside leg of the pant along the fold of the fabric. Make sure to leave space at the bottom of the pants to add length and/or hem.
Pin in place. Trace around your pants with a fabric pen, allowing 1/2″ extra for seam allowance and 1 1/2″ extra at the bottom for hemming. If you need additional length, add that amount to the 1 1/2″ hem allowance. Also, at the waist (the top), leave an extra 2 1/2″ for the waistband. Remove the pants you traced and cut the pants piece out on your trace line.

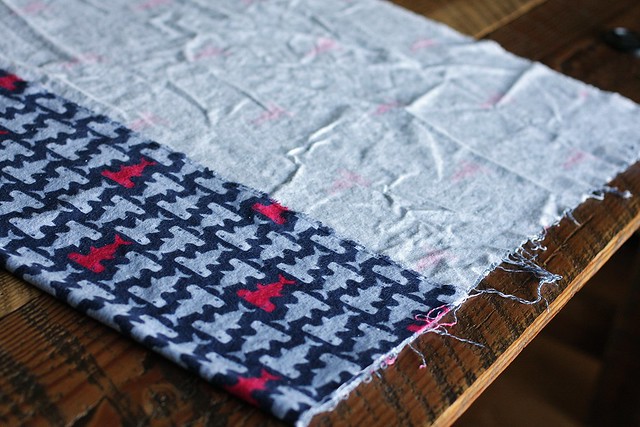
Repeat the above steps on the right half of your fabric (folded to the crease line). But instead of using the pants to trace your pattern piece, use the piece you just cut out, ensuring that both pieces will be the exact same size.

Open up the two pieces and pin them with right sides together. Sew from the waist to the crotch, on both sides.
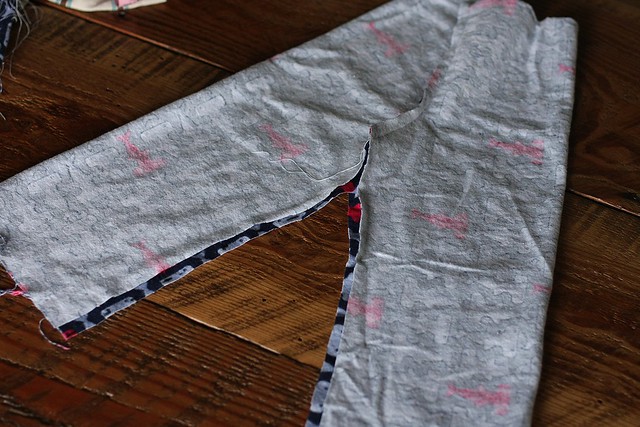

Now open up the pants so that the crotch seam you just sewed is in the center and the two legs are on each side (see photos above). Pin together matching up the leg bottoms and crotch seams.
Begin sewing at one leg bottom, sew up the length of the pants to the crotch, and then down the other leg to the bottom. Clip the center crotch area and cut threads.

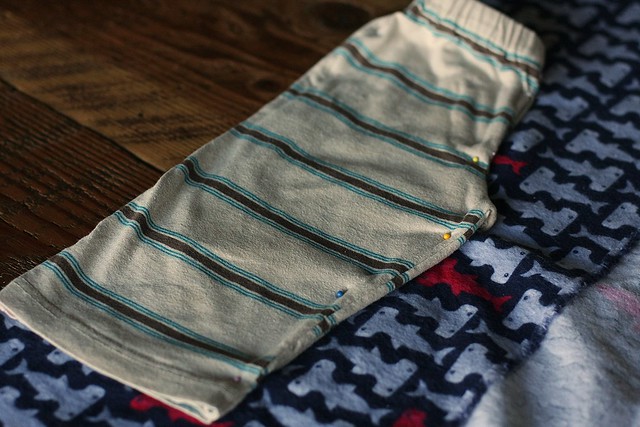
Almost done! Time for the waistband. With your pants still facing wrong side out, fold down the top edge 1/4″ and iron in place. Fold down another 1″ and iron again. This creates the elastic casing. Sew close to the fold (see photo above), all the way around the waistband of the pants, leaving a 2″ opening at the back center to insert the elastic.
Attach a large safety pin to your elastic and insert the elastic through the opening. Thread it through being careful not to twist. At this point you can try the pants on your child to see exactly where to sew the elastic or just add 1″ to your child’s waist measurement. Sew the two ends of the elastic together. Stitch the waistband closed at the elastic opening.
Lastly, hem your pants. Fold the bottom edge up 3/4″ and iron. Fold again 3/4″, iron and pin in place. Sew around the pant leg close to the fold (similar to the elastic casing you did on the waist). Repeat for second leg. Turn pants right side out and you’re done!
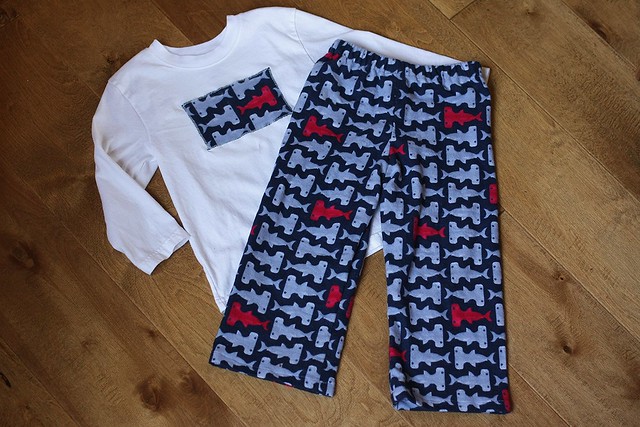

Super comfy pants made in one day! In the end I decided the shark flannel would work better as pajama fabric instead of pants to wear outside the home. Little L didn’t care as long as he got to wear them one way or another. I also cut out a little piece of the shark flannel to sew on to an extra shirt to make a complete pajama set. You can’t get much cuter or simpler than this!
I think I need to make some more pants for Little L this way now that he is out of diapers and can’t keep any of his bottoms up over his tiny bum!
I hope you enjoyed this. If something doesn’t make sense or you have any questions please don’t hesitate to ask!
Source: http://frontierdreams.blogspot.com/2014/01/cute-and-cozy-childrens-pants-super.html
