| Online: | |
| Visits: | |
| Stories: |

| Story Views | |
| Now: | |
| Last Hour: | |
| Last 24 Hours: | |
| Total: | |
Transplanting Japanese Maple Trees in 3 Easy Steps
Transplanting a Japanese maple is not difficult, but there are a few key things to know to prevent doing serious harm to your tree. The two most important factors in successfully transplanting Japanese maple trees are depth and timing. If you can at all help it, only dig your Japanese maple when it is dormant.
What is Dormancy?
Dormancy is a natural period of rest for your plant. It allows the plant to prepare its soft tissue for freezing temperatures or drought. Dormancy is typically triggered by a hard freeze where temperatures dip below 30 degrees Farenheight for at least a few hours straight.
Digging a dormant plant is very similar to operating on an anesthetized patient. Before going to surgery, a doctor will put a patient on anesthesia to keep them from going into shock. Likewise, digging a Japanese maple that is “wide awake” and actively growing can put your tree into shock. Sometimes its unavoidable and you gotta’ do what you gotta’ do, but if at all possible, its best to wait to dig your tree.
Step #1: Dig Your Tree
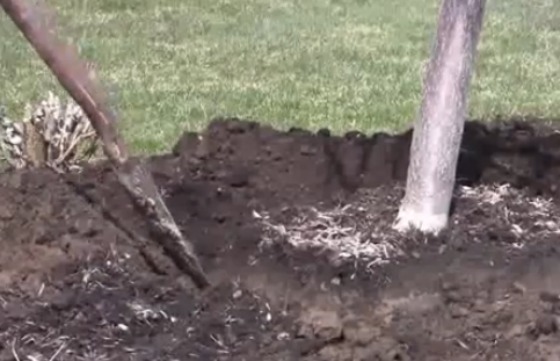
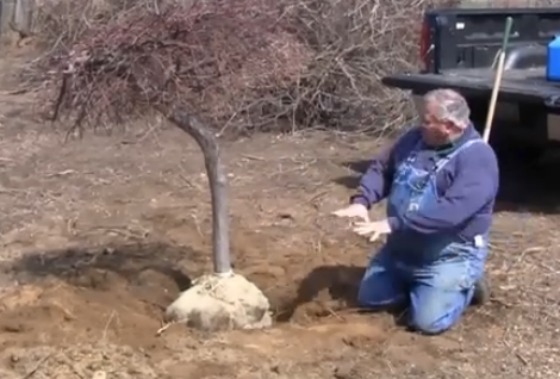
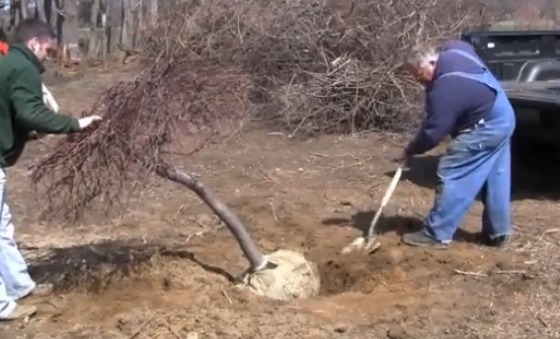
Begin by digging a trench around the root ball. As long as your tree is dormant, cutting the roots will not damage your Japanese maple. In fact, root pruning will force the tree to produce more fibrous roots at the cut. This will help your tree become established in its new home. For a large Japanese maple, dig your trench in a 12″ diameter from the trunk. You can go smaller when transplanting smaller trees.
If you are digging a Japanese maple that is not dormant, then its very important not to severe any major roots. Japanese maple roots tend to grow more outward than downward. You will want to dig wide– at least as wide as the tree’s crown, if not wider.
Once your trench is done, it is time to shape the root ball for burlaping. If you are transplanting your Japanese maple immediately there is no need to ball and burlap it. If you plan to keep it above ground for any length of time, you should protect the roots by wrapping them in soil and burlap.
To create a round shape, keep your spade at an angle to slice under the root ball, shaping it as you go. Don’t wiggle or pry, just slice. Prying will cause the soil to break loose from the roots and your ball to lose shape. Click here to see a video tutorial on how to easily fix a broken root ball. Once your root ball is shaped then its time to wrap it in burlap.
Step #2: Burlap Your Root Ball
Place your root ball in the center of your burlap square. For large Japanese maples, it is easiest to take a square of burlap and tuck it under the front of your root ball. Then use a spade to gently push it underneath. Tip the tree forward a bit if you need to.
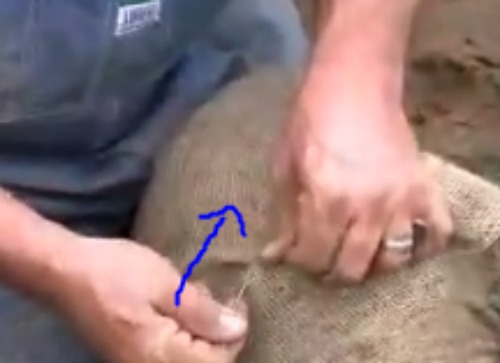
One your root ball is situated and you have replaced any dirt that you lost in the process, tie the burlap in a criss-cross pattern (top left corner to the bottom right, bottom left to the top right). Pat your root ball to pack it tight and begin pinning to secure it.
Pull your burlap tight and pin it in place. Pinning nails are available at nursery supply stores. You can use a nail with a flat head from your hardware store. Rusty nails are very hard to push through burlap. Make sure your nails are clean and dry. Watch for pins that work themselves loose as you are tugging an pulling. They’ll prick you if you’re not careful.
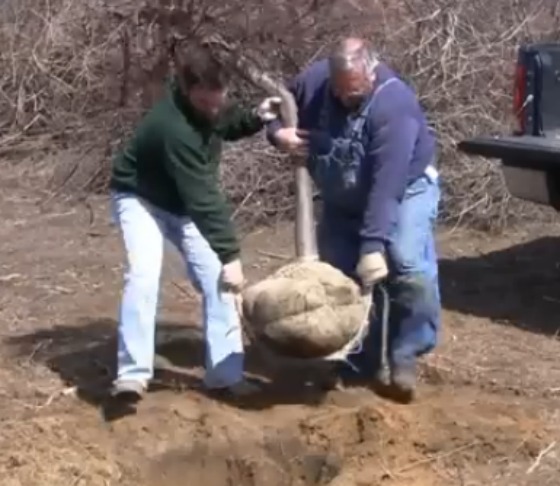
When transplanting a large Japanese maple tree, can use some sisal twine to secure the burlap while you are moving it.
Using a piece of burlap or tarp as a sling will make moving your tree a whole lot easier.
A Little Note About Storing Your Japanese Maple
A burlaped Japanese maple is very much like a potted one. The soil will dry out faster than if it were in the ground. If you are not planting your tree right away, be sure that it doesn’t dry out. Give the burlap a good soaking with the hose.
Like a potted plant the soil in the burlap will heat up or freeze faster than ground soil. If you are leaving your balled and burlapped plant above ground during extreme weather, it will benefit you to throw a layer of mulch or leaves over the ball to help with insulation. Here’s more information about protecting Japanese maples for the harsh elements.
Step #3: Re-Plant Your Tree
Season makes no difference when planting your Japanese maple. You can plant them at any time. Time is only a factor when digging them.
Natural burlap is bio-degradable. Poly Burlap takes a little longer to break down. Most people can plant their trees without removing the burlap, however if you have really sandy soil it is best to remove it. It can take a very long time for sandy soil to break down burlap. Your tree will be happier if you cut it off.
If you choose to plant with burlap, loosen the top and cut the twine. Watch for hidden strings. Sometimes when trees are at the nursery for a while, they re-burlap right over the old. If you didn’t wrap it yourself, take a peak underneath the first layer of burlap.
Make 3-4 vertical slices into the burlap to make it easier for the roots to escape.
The depth of your hole is extremely important.
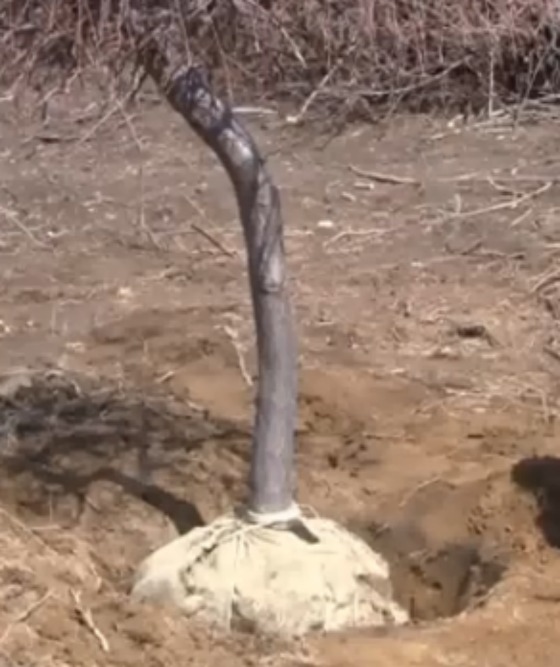
For normal- sandy soil, the top of the root ball should be 1″ to 1 1/2″ above grade. Back-fill with top soil. There is no need to use peat or soil amendments. (The exposed roots will be covered with soil, but they should be mounded and covered above ground level.)
If you have heavy clay soil, raise your root ball up an additional 2″. Be sure to back-fill with the same clay soil that you got from digging the hole. Don’t try to use a better quality soil for filling the hole or you’ll get the “bathtub effect”. Rainwater will soak into the new soil and be trapped once it hits the clay soil below. It has nowhere to drain. Japanese maples do not like wet feet! Its best to back-fill with the clay soil and then build a bed around the top of the tree with good, rich soil.
Once again, don’t plant too deeply. If you made your hole too deep, there is no need to pick the tree back up. You’ll save your back a lot of discomfort by tipping the tree and adding soil below it.
Once your tree is planted, give it drink of water and let nature take over. I don’t recommend using garden fertilizer. Nitrogen releases way too quickly and will burn the delicate leaves of a Japanese maple. I find that the less I interfere, the better it does. Here is more information on fertilizing Japanese maples.
That’s it. That’s all there is too it. Mind your seasons and watch your depth. You will find that transplanting Japanese maple trees is easy as pie. Visit this page for Japanese maple planting tips.
Source: http://mikesbackyardnursery.com/2014/03/transplanting-japanese-maple-trees-in-3-easy-steps/


