

| Online: | |
| Visits: | |
| Stories: |

| Story Views | |
| Now: | |
| Last Hour: | |
| Last 24 Hours: | |
| Total: | |
DIY Chicken Feeder

This is no means an exact science. You can create your 5-gallon chicken feeder for less than $5.
Step 1: Obtain Items and Hardware
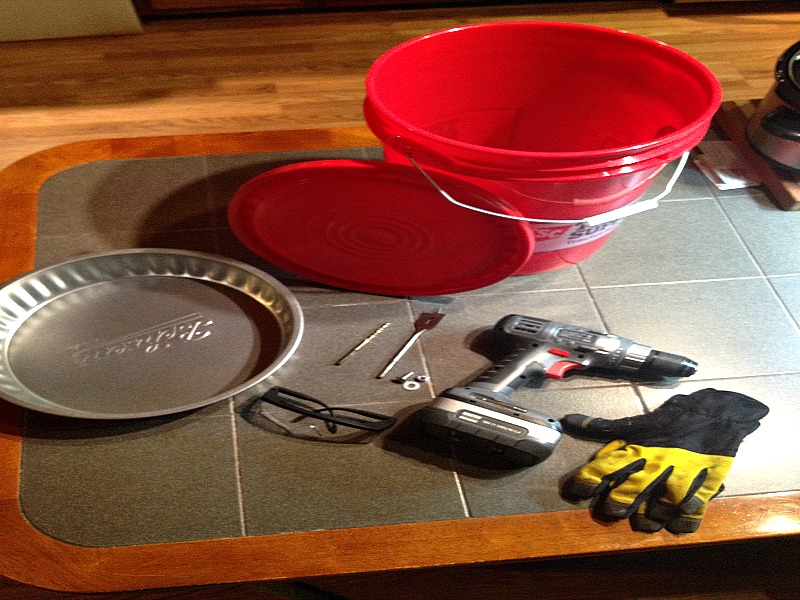
- 5-gallon bucket with lid
- 1 Gallon Utility Pan – the one I used was a 1-gallon utility pan from Tractor Supply.
- 1 bolt/nut/washer – I used a ¼ inch (any size you prefer – this is optional). ¼” drill bit for drilling the bolt hole (depending on the size of your bolt – this is optional).
- Screw driver (this is optional – only if you decide to use a bolt
- 1” drill bit for holes
- Marker – to mark where to put the holes
- Safety glasses
- Drill
- Gloves (optional)
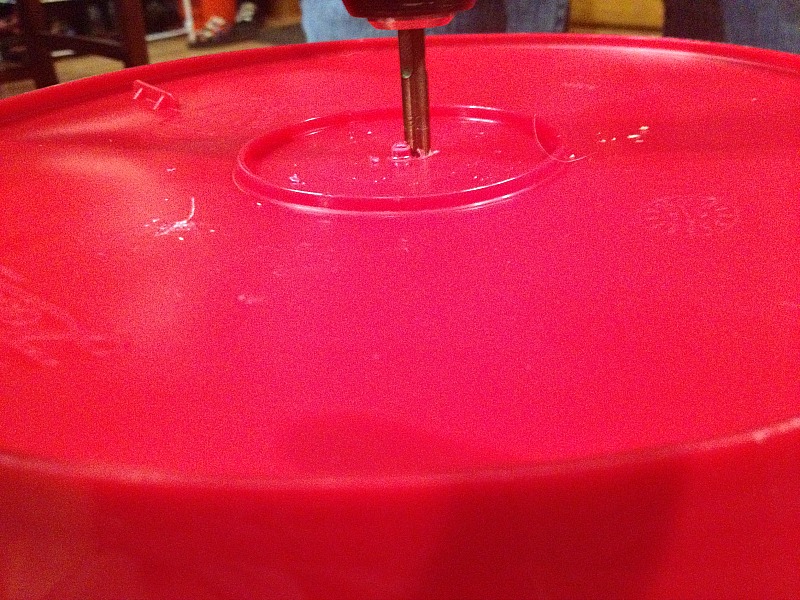
Step 2: Drill a hole in the bottom of the bucket and metal pan
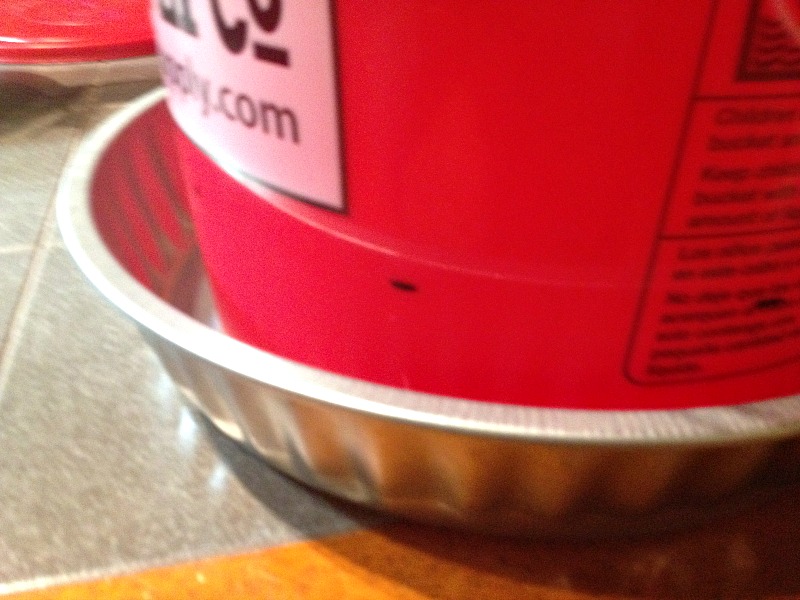
Step 3: Mark where you want to drill the holes
Put the 5-gallon bucket inside the metal pan lid side up and use the marker to indicate where you would like to drill the holes. The holes are to be drilled near the bottom of the bucket. I marked the holes right at the top of the metal pan. I just eyeballed where I wanted them and tried to space them out evenly. This is not an exact science and does not have to be perfect.
Step 4: Drill the holes
Use the 1” drill bit and drill to drill the holes where you indicated. You can use any size you wish. I chose 1” – but, you can definitely use a bigger bit if you’d like.
Just work your way around the bucket until you have all the holes drilled.
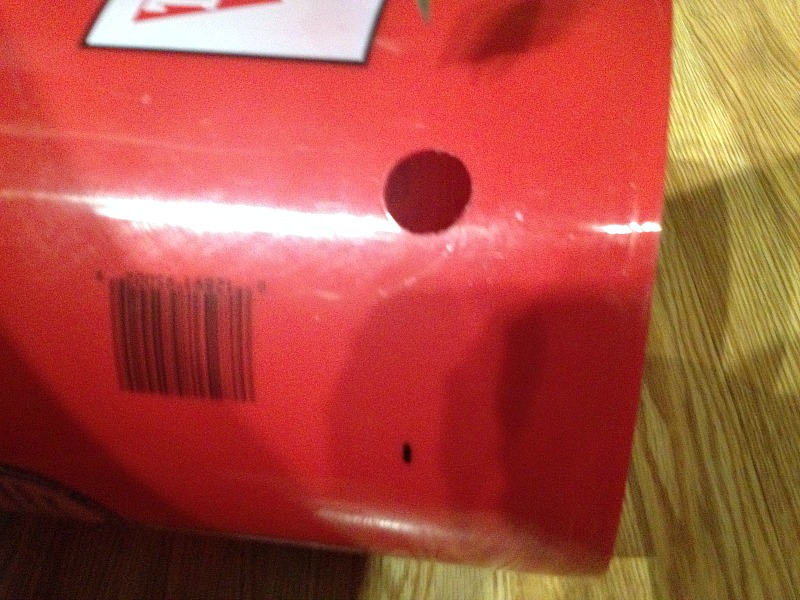
Make sure to clean the plastic shavings from the bucket. You don’t want your chicken accidentally eating the plastic shavings.
Step 5: Attach the metal pan to the 5-gallon bucket
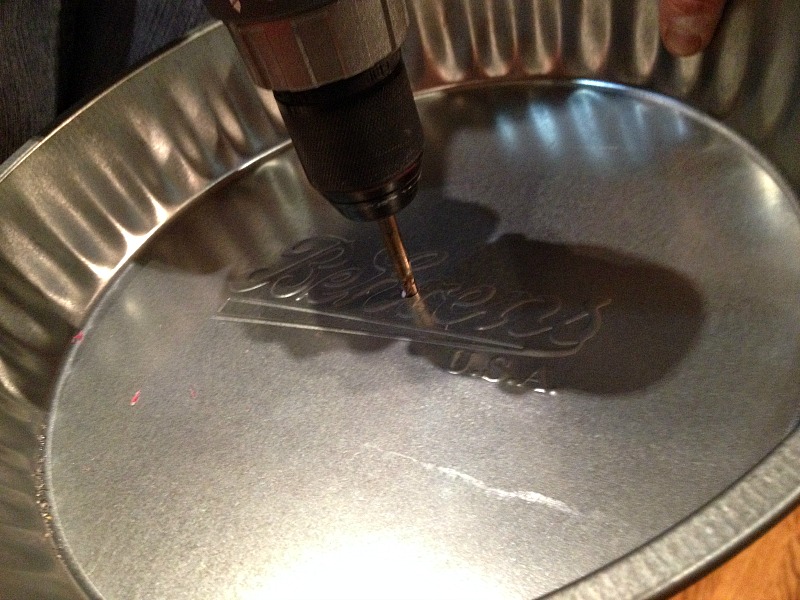
Use the bolt, nut and washer to attach the base. Make sure to come in from the bottom of the pan so that the bucket will sit flat. Use the screw driver to tighten the screw. Again, this is an optional step – but, I wanted to attach the two pieces together. I, unfortunately, don’t have a clear shot of this part but, if you look at the center hole you can see that I have attached the metal pan to the 5-gallon bucket in this shot.

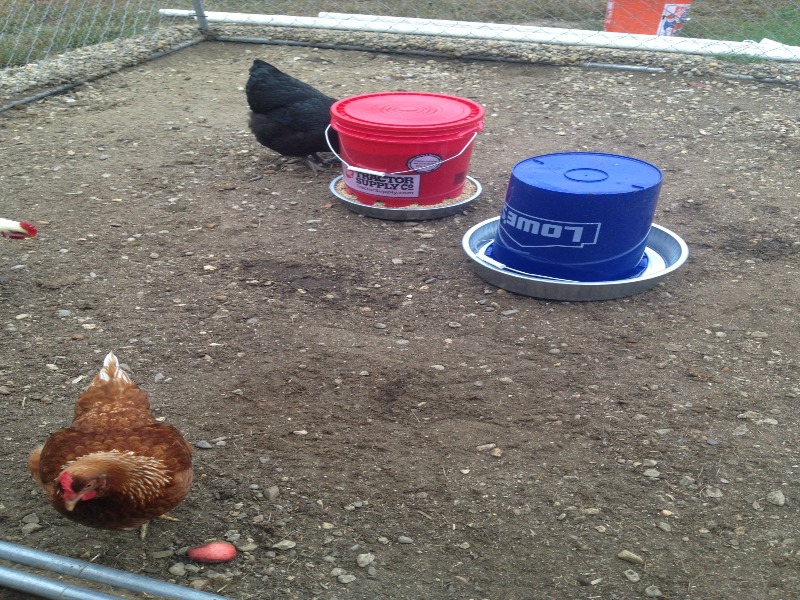
Step 6: Fill with Feed
Now just fill with the feed of your choice.

Step 7: Give to your chickens
Make sure the lid is on and give to your chickens to enjoy. I will be putting this inside their coop with a board on top. This way they can still roost on top of it and not have any droppings fall into the feed.
ABOUT THE AUTHOR:
Crystal Panek is now a stay-at-home mom (aka, a domestic goddess). She spends her time taking care of her family, home, dogs and chickens. She is a self-proclaimed jack-of-all-trades and loves to spend her time working with her hands and being creative with “junkyard” finds – refurbishing them and bringing them back to life.
The post DIY Chicken Feeder appeared first on Mike's Backyard Nursery.
Source:
