

| Online: | |
| Visits: | |
| Stories: |

| Story Views | |
| Now: | |
| Last Hour: | |
| Last 24 Hours: | |
| Total: | |
DIY Chicken Waterer

 Step 1: Obtain Items and Hardware
- 5 Gallon bucket
- 1 Gallon Utility pan-the one I used was a 1-gallon utility pan from Tractor Supply.
- 3/8″ drill bit for drilling water holes
- drill
- marker
- safety glasses
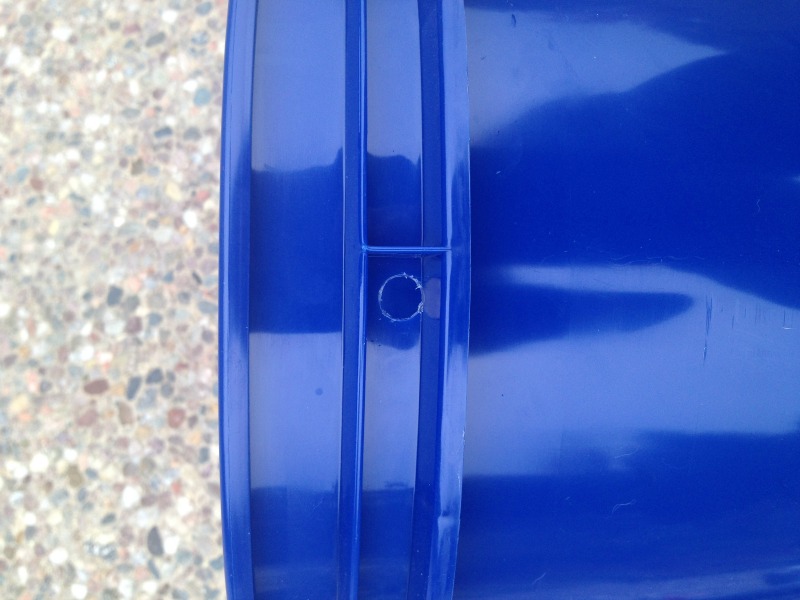
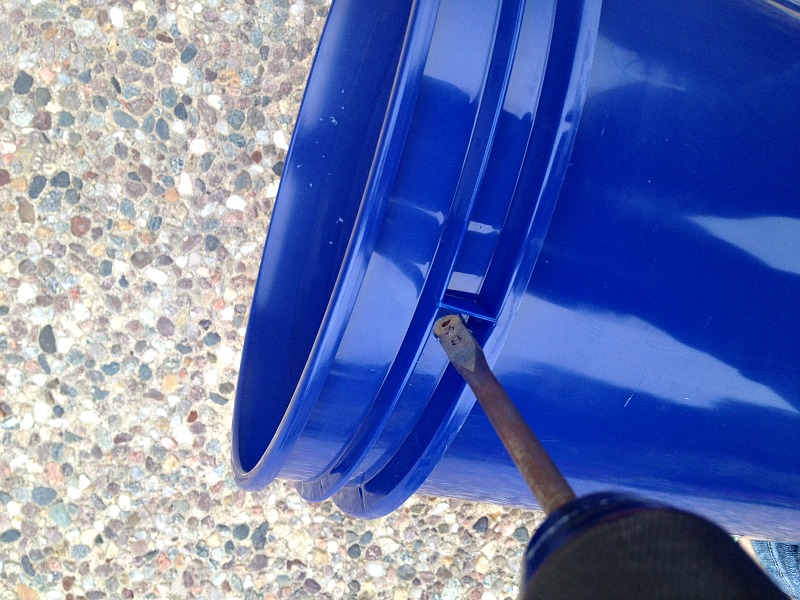 Step 2: Draw where you want the holes to be and then drill the holes
You will need to only drill two holes in this bucket near the TOP of the bucket. One hole opposite the other one.
Step 3: Fill the bucket with fresh water
Make sure to fill it below the holes, otherwise you will wear water while walking the bucket back to the coop. You can fill it to however full you would like. But, remember, 5-gallons of water is pretty heavy.
Step 4: Put on the lid
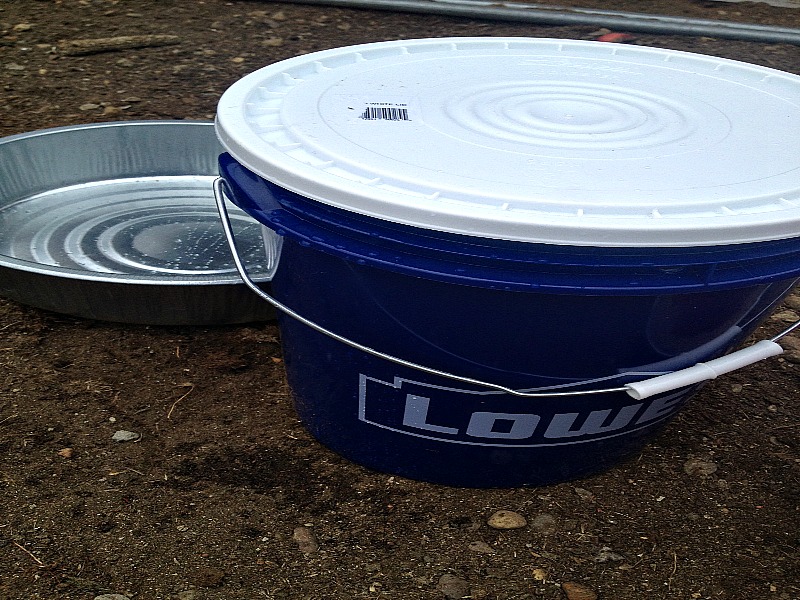
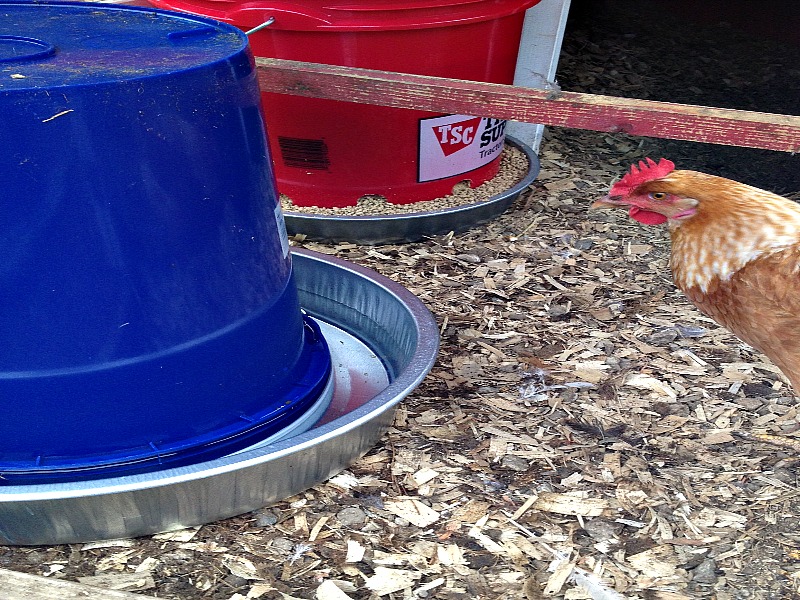
Step 5: Flip bucket into the watering pan
Flip the bucket so that the lid is on the bottom and quickly place it in the metal pan. Water will start to come out of the holes you created in the side of the 5-gallon bucket.
 The nice thing with the smaller size holes is that the water doesn’t gush out. It will flow nicely until the water is just above the holes and a vacuum is created in the bucket. Just make sure to place it on a nice, flat surface.
ABOUT THE AUTHOR:
Crystal Panek is now a stay-at-home mom (aka, a domestic goddess). She spends her time taking care of her family, home, dogs and chickens. She is a self-proclaimed jack-of-all-trades and loves to spend her time working with her hands and being creative with “junkyard” finds – refurbishing them and bringing them back to life.
The post DIY Chicken Waterer appeared first on Mike's Backyard Nursery.
Source:
