

| Online: | |
| Visits: | |
| Stories: |

| Story Views | |
| Now: | |
| Last Hour: | |
| Last 24 Hours: | |
| Total: | |
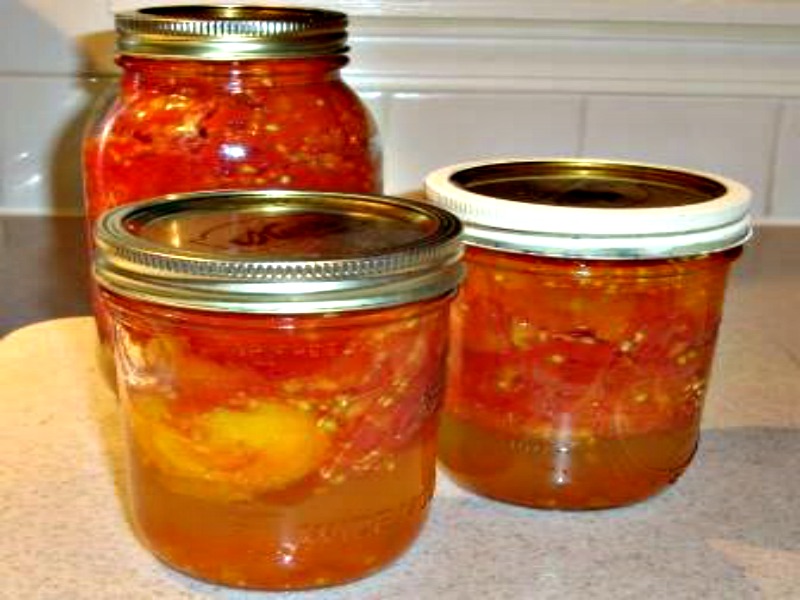
How to Can Tomatoes From Your Garden

How to can tomatoes from your garden. Canning is one of the most popular ways to preserve delicious, garden fresh tomatoes.
Assemble the following tools:
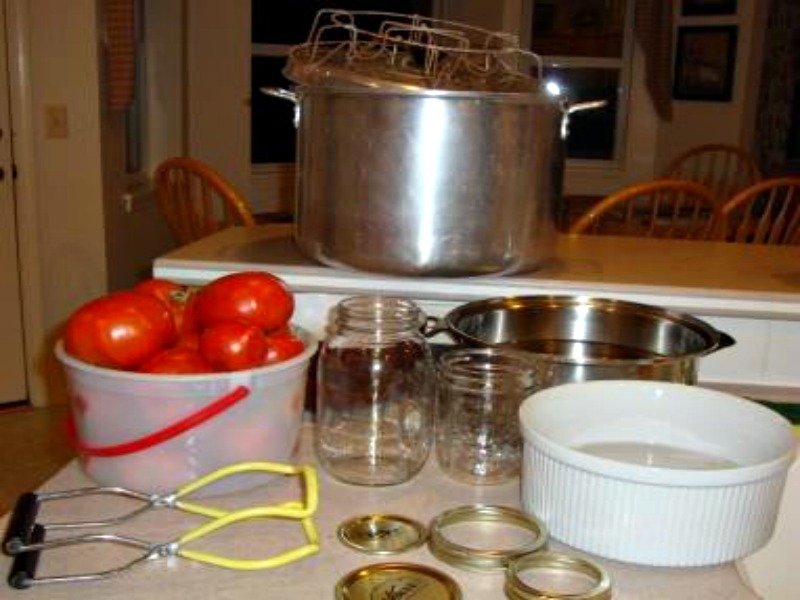 Large canning pot with jar rack (also called a canner). A very large stock pot that will allow room for the jars to be covered by at least 2 inches of water is the main requirement.
If a rack does not come with the pot that is being used, a rack can be improvised by using a towel at the bottom of the pot to nestle around the jars to keep them off the bottom and secure from falling over.
The purpose of the rack is to allow water to easily circulate all the way around the jars.
Clean jars – determine the size by the intended use of the canned tomatoes. Quarts are very common but pint jars may be more suited to a small household or half gallon jars for large households
Jar lids and bands – do not reuse lids that have been used previously and check that bands are not rusty or bent
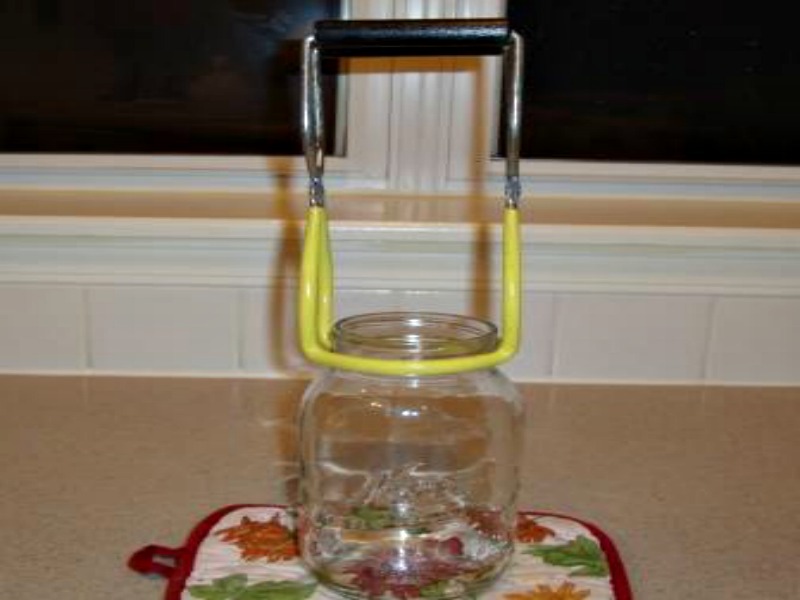
Jar lifter – used to manipulate and remove jars from the boiling water in the canner
Large stock pot ( 5-8 qt.) for blanching tomatoes
Cook pot or sauce pan for keeping lids and bands simmering
Firm, ripe, disease free tomatoes without a lot of blemishes– around 20 – 25 pounds for 7, one quart jars; 12-14 pounds for 9, one pint jars (Quantities are based on filling a typical, large canner jar rack which holds up to 7 quart jars or 9 pint jars).
Bottled lemon juice to assure sufficient acidity so spoilage and botulism won’t occur
Paring knife
Tablespoon
Slotted spoon
Water
Pot Holders
Paper towels
Permanent marker

Step 1:
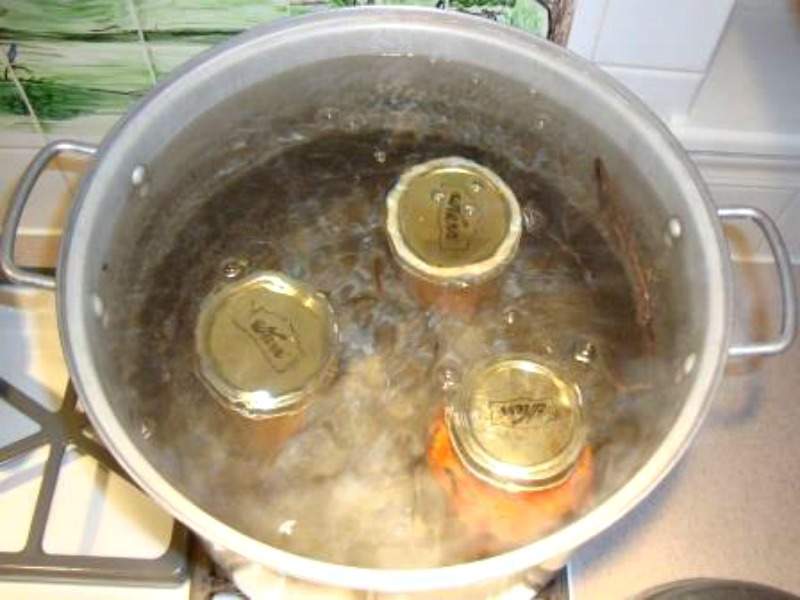
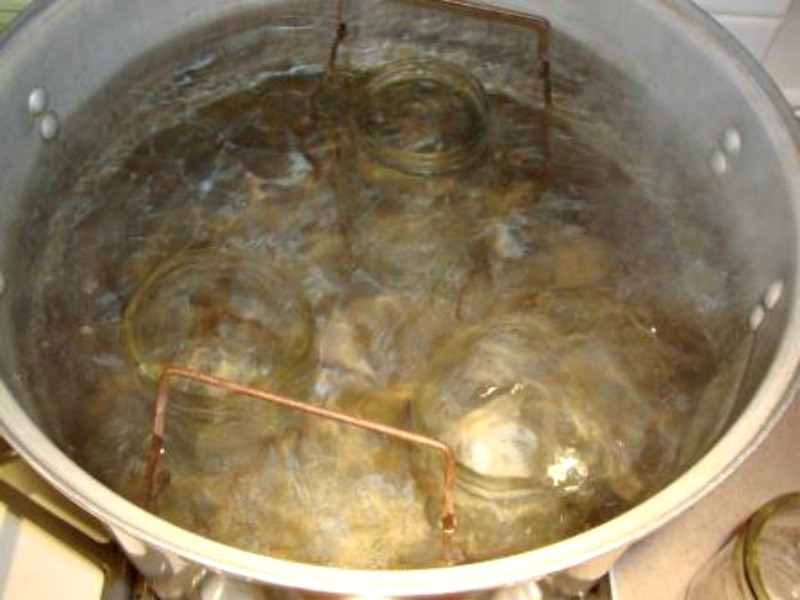 Fill large canner with rack and jars you are planning to use and fill with water covering the top of the jars by at least 2 inches.
Set canner on stove top to boil.
Once boiling, let it boil for 10 minutes to sterilize jars.
Place jar lids and bands in another pot, filling with water to cover by at least 2 inches and bring to a boil, and then turn heat down to keep simmering.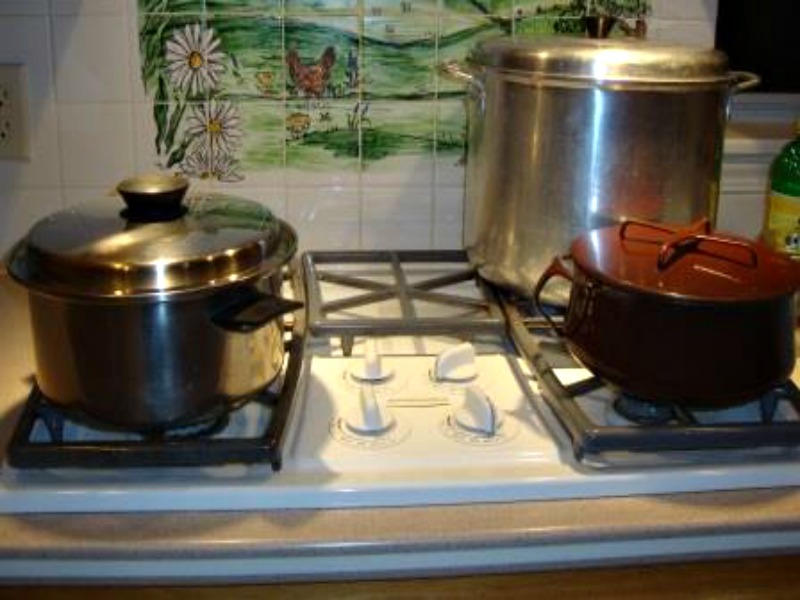 Fill third pot with water and bring to a boil in which to blanch tomatoes
Step 2:
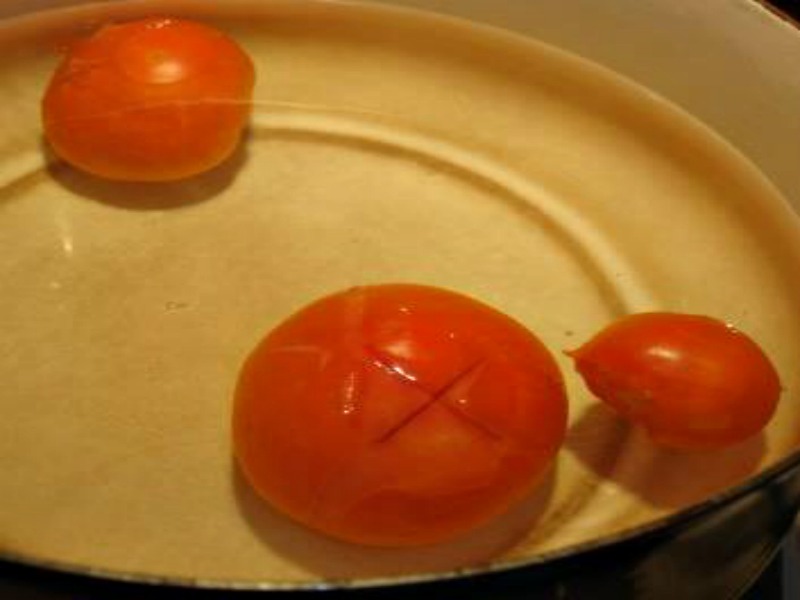
Wash and core tomatoes. Remove any bad spots and then make two shallow slashes in the shape of a cross in the skin on the bottom.
This will assist in removing the tomato skins once blanched.
Place several tomatoes at a time in boiling water for 30-60 seconds until the skins begin to peel back away from the flesh of the tomato.
Don’t overload the pot so it stops boiling.
With slotted spoon or other kitchen utensil, remove tomatoes once the skins start to peel back.

Place in bowl of ice water to cool slightly so the tomatoes may be handled.
Remove from bowl and slip skins off tomatoes with the paring knife.
Remove a sterilized jar from the canner with the jar lifter, pouring the water from the jar back into the canner.
Place sterile jar on pot holder or heat resistant surface and begin to place peeled tomatoes into the jar.
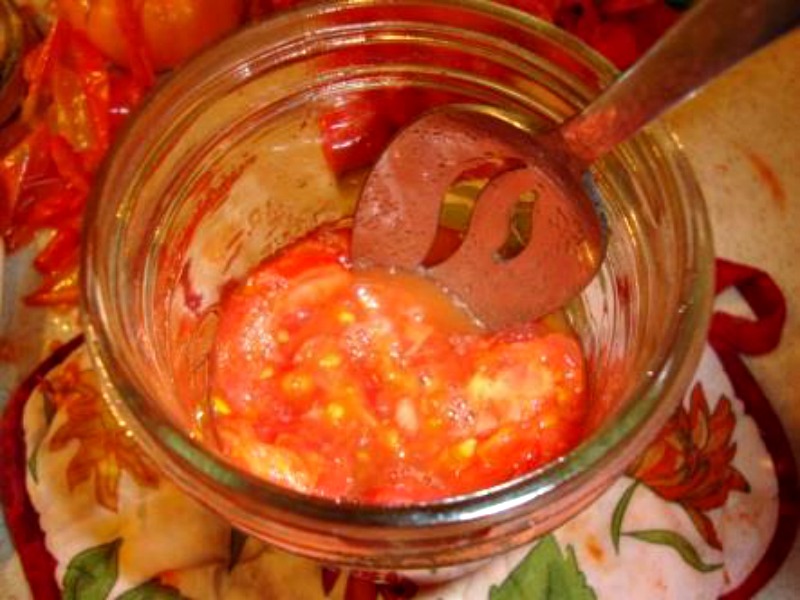
As you fill the jars, if air gaps are noticed, push down the tomatoes with a spoon or other kitchen utensil, to remove the gaps.
Continue to fill the jar to a level about ½” below the threads on the neck (where the band threads onto the jar) of the canning jar.
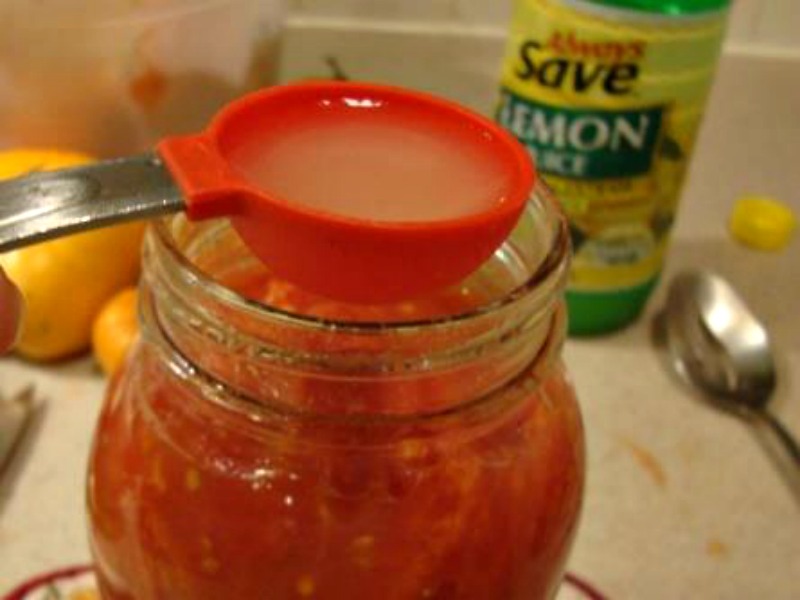
Measure out 2 Tablespoons of lemon juice per quart of tomatoes or 1 Tablespoon for a pint and add to the jar. The juice may be left right on top since it will naturally mix together with the tomatoes as it boils during the time processing in the canner.
Remove any last air gaps by pushing down on the tomatoes with the tool of your choice.
Using a paper towel, wipe off any tomato residue from jar tops and the threads on the neck where the bands will screw on in order to make sure the lid will adhere properly.
Remove jar lid from the simmering pot of water.

Place lid (rubber side against the top of the jar) on clean jar top. It is the rubber ring on the underside of the lid which makes the air tight seal. The band is used to hold the lid in place until it seals.
Remove a band from the simmering pot of water. Screw band snuggly on to the top of the jar to secure lid.
Continue to fill sterile jars until you have processed all the tomatoes or there are enough jars to fill the canner.
Step 3:
Remove jar rack from canner with jar lifter or pot holders (depending on level of water). Be careful not to burn yourself!
Place hot jar rack on heat resistant surface or several pot holders.
If using a towel or some other device at the bottom of your canner to hold the jars off the bottom of the pot, leave it at the bottom of the pot of boiling water.
Place each jar into the canner with the jar lifter making sure they stay upright.

Place completed jars in rack and lower back into boiling canner with pot holder
The jar lifter can be used to make sure jars are all upright once settled back into canner.
If necessary, add water to make sure there is 2” of water covering the jars of tomatoes.
Place lid on the canner and return it to a rolling boil.
Once boiling, lower heat to a gentle, steady, boil for the duration of the processing time.
Begin timing when the water is at a steady gentle boil.
Water may boil off during processing so it may be necessary to add water to keep the 2” covering of water over the jars.
During the processing time*(see below), lift the lid and check occasionally and add water as needed.
When processing time is finished, remove jars from canner with the jar lifter.
Place jars on heat resistant surface or potholders at least 1 inch apart and out of drafts, to cool.
After cooling 12-24 hours, check the lid seal. If the top of the lid is concave (that is, curved down slightly) the jars have successfully sealed.
A popping sound may be heard when the lids seal down so that is another indication of properly sealed jars.
Once jars are cool, label with date, and contents.
Store jars in a cool, dark place. Bands may be removed if desired.
Canned goods should be used within 2 years.
If the lid is flat or bulging, the jar is not sealed. To double check, press on each lid to see if it pushes down or pops up when pushed. If so, the jar is not sealed.
If the jar is not sealed, it is best to refrigerate the jar and use within a few days.
It is possible to reprocess the tomatoes, but the process needs to be started over from the beginning (except preparing the tomatoes). Remove tomatoes, use freshly sterilized jars, repack the tomatoes into jars, seal with a new lid and band and process according to the size of jar and elevation you are at. Quality will be compromised with another processing period but that may be a good choice if there are great quantities of tomatoes coming out of the garden.
*Processing time
For quart jars, leave the jars in the gently boiling water to process tomatoes for 45 minutes, pint jars are processed for 35 minutes. If there are a mixture of sizes, process according to the largest jar. If canning at elevations 1,000 feet above sea level, additional time is required:
From 1,000 to 3,000 feet above sea level, quarts are processed for 50 minutes, pints for 40 minutes.
From 3,000 to 6,000 feet above sea level, quarts require 55 minutes, pints 45 minutes.
Above 6000 feet, quarts need 60 minutes, pints 50 minutes.
The post How to Can Tomatoes From Your Garden appeared first on Mike's Backyard Nursery.
Source: http://mikesbackyardnursery.com/2014/10/how-to-can-tomatoes-from-your-garden/
