| Online: | |
| Visits: | |
| Stories: |

| Story Views | |
| Now: | |
| Last Hour: | |
| Last 24 Hours: | |
| Total: | |
DIY Raspberry Trellis
Raspberries will grow happily without any support at all, but having a raspberry trellis /support system makes gardening easier for you! 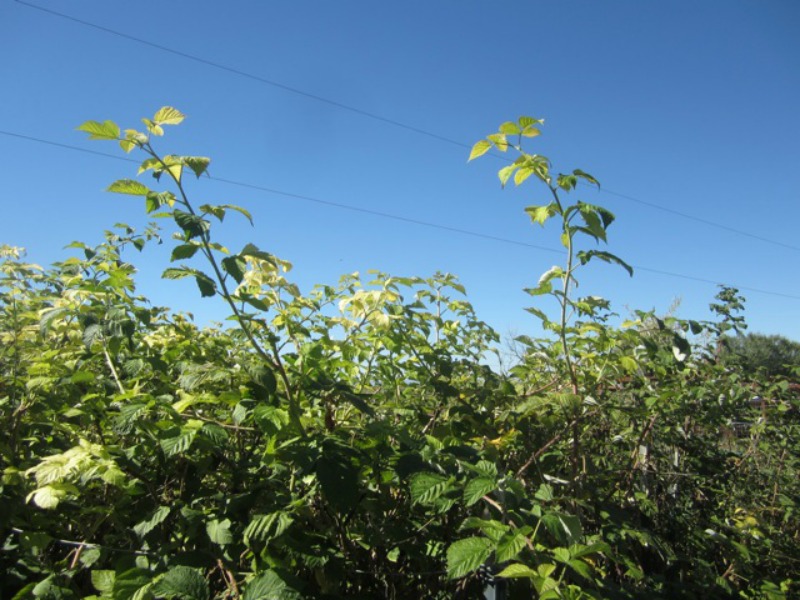 If left to their own devices, raspberries will form an arching plant about 7 to 9 feet tall.
Making a support keeps these plants neat and tidy, enables easy walking between rows, and makes harvesting convenient.
This raspberry trellis is simple and easy, no carpentry needed!
Materials you’ll need for your DIY Raspberry Trellis:
6 foot tall stakes or posts, Wire(10 or 12 gauge galvanized wire works well), Mallet, Old carpet or cardboard
Step 1- Outline your raspberry patch
Start by outlining the confines of your raspberry beds. Mine are 3′ x 12′.
If your raspberries are growing along a fence or wall, keep the depth of your bed at 18″ so you can reach in to harvest easily.
Lay down strips of old carpet, wood, or even cardboard boxes around the bed you have outlined, creating a border and barrier so your new raspberry shoots will come up in your patch, not in your path.
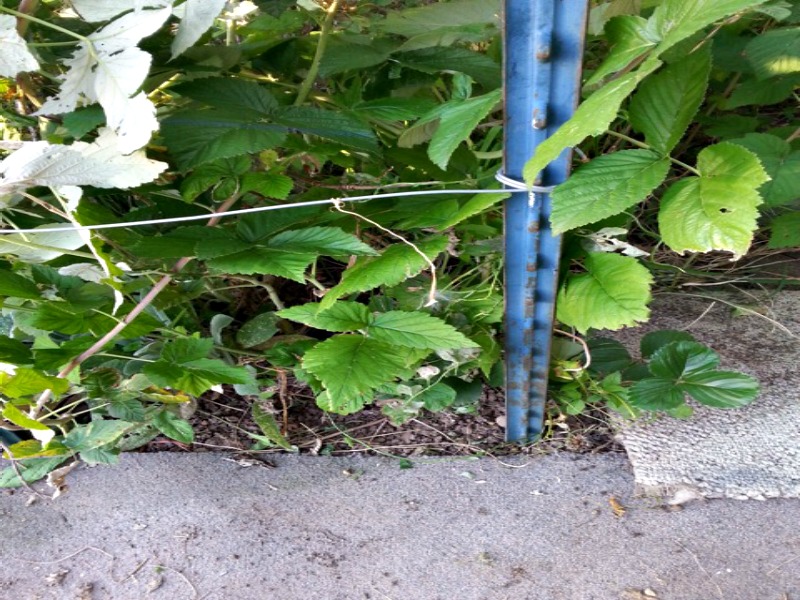
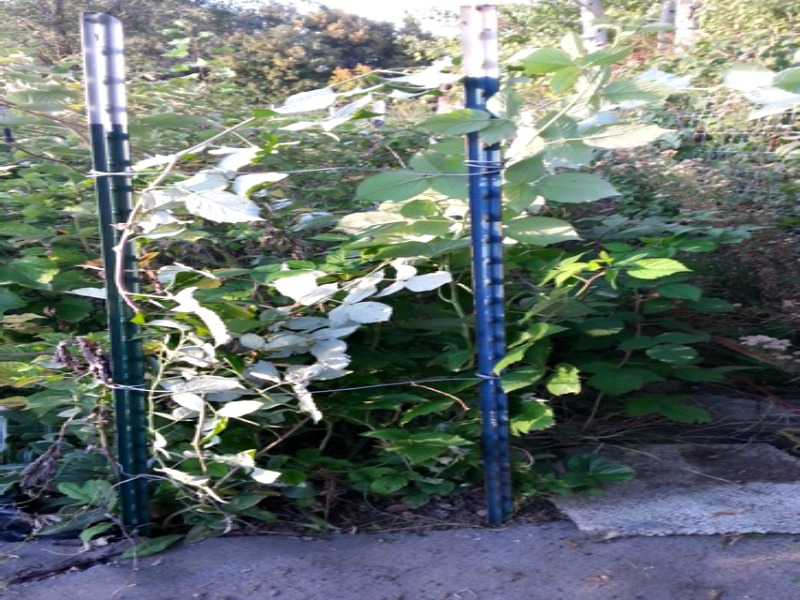 I use wide pieces of old carpet between the rows in my raspberry patch and it prevents weed growth and directs new raspberry shoots to come up in the bed.
Step 2- Put in support stakes or poles
 Now that you have outlined your patch with some kind of barrier border, use a mallet to drive a stake into the soil at each of the 4 corners of your bed until it is about a foot into the ground.
Step 3- Wrap wire around the stakes
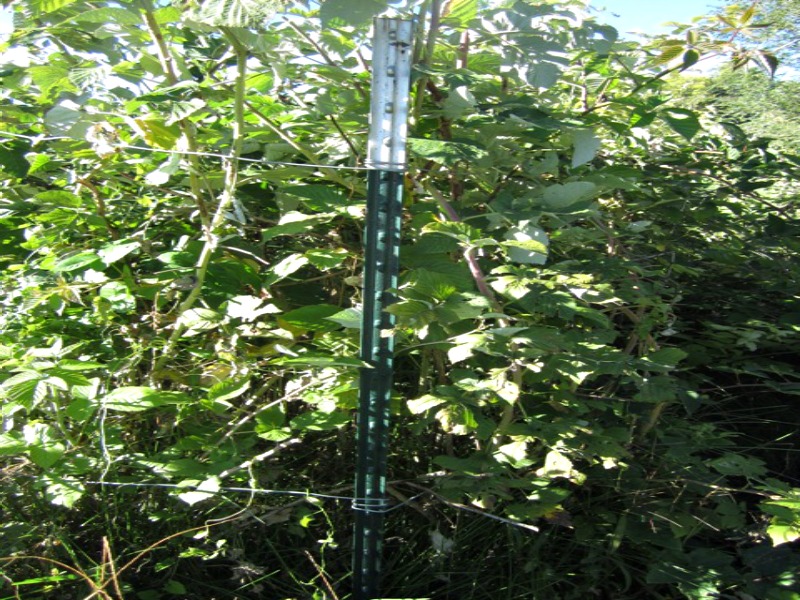 You’ll need 2 wire supports, horizontal to the ground at about 18″ from the ground and also up near the top of the stakes.
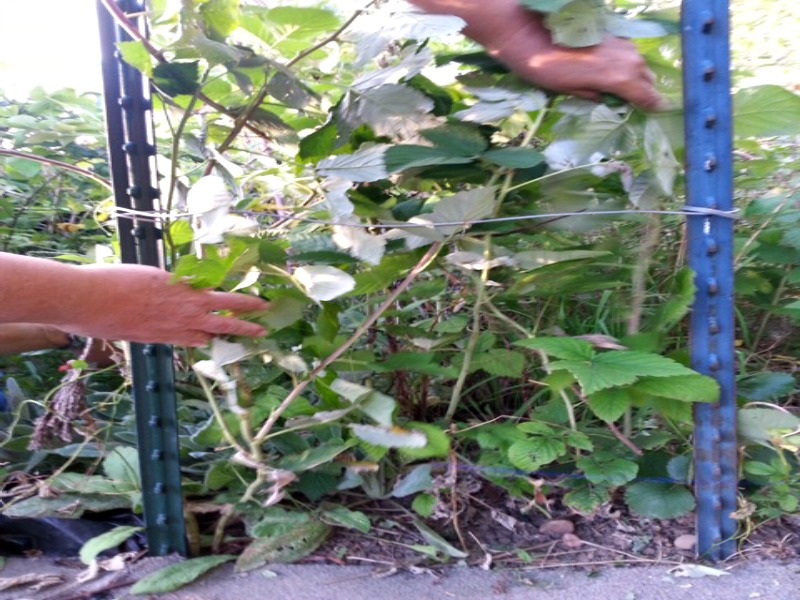 Tuck your raspberry canes all inside your wire outlined bed.
Step 5- Prune back your canes
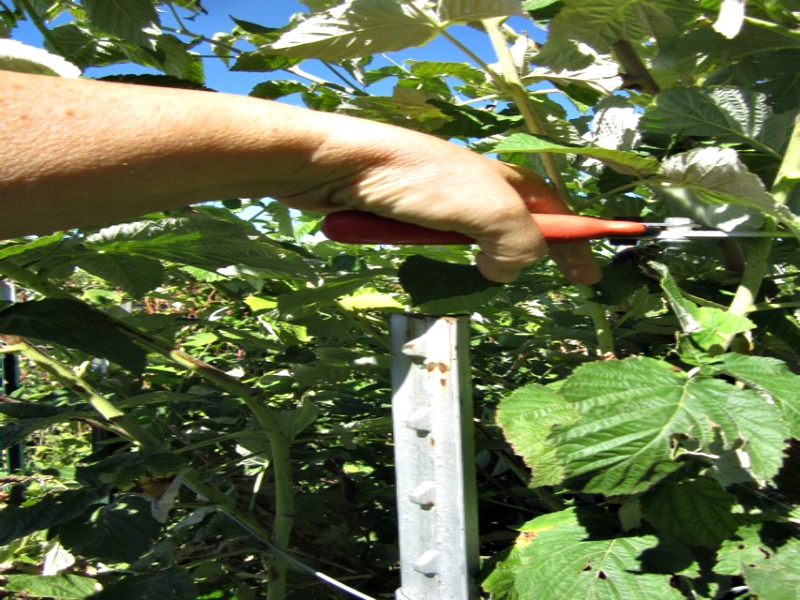 Prune your raspberry canes off at about 6 feet. Using your corner support stakes as an approximate height guide, prune back all the plants. You’ll need to do this a few times during the growing season to keep them easy to manage.
 Tuck all new green growth that has sprung up from the ground in the spring back behind the wire supports as they grow. The wires serve as a cage to keep the plants confined within the raspberry patch.
About the Author-Diane H.
I love to garden! For me, it is miraculous to see plants grow, nourishing and therapeutic to work in the garden, and health-building to eat your own homegrown foods. Fresh raspberries from the garden can’t be beat! I am not a fan of backbreaking work, though, so the easy way in gardening always has appeal to me. My husband and I are the parents of 7 children whom I home schooled. We live on 7 acres in the Rocky Mountains, with a short growing season.
The post DIY Raspberry Trellis appeared first on Mike's Backyard Nursery.
Source: http://mikesbackyardnursery.com/2015/02/diy-raspberry-trellis/


