

| Online: | |
| Visits: | |
| Stories: |

| Story Views | |
| Now: | |
| Last Hour: | |
| Last 24 Hours: | |
| Total: | |
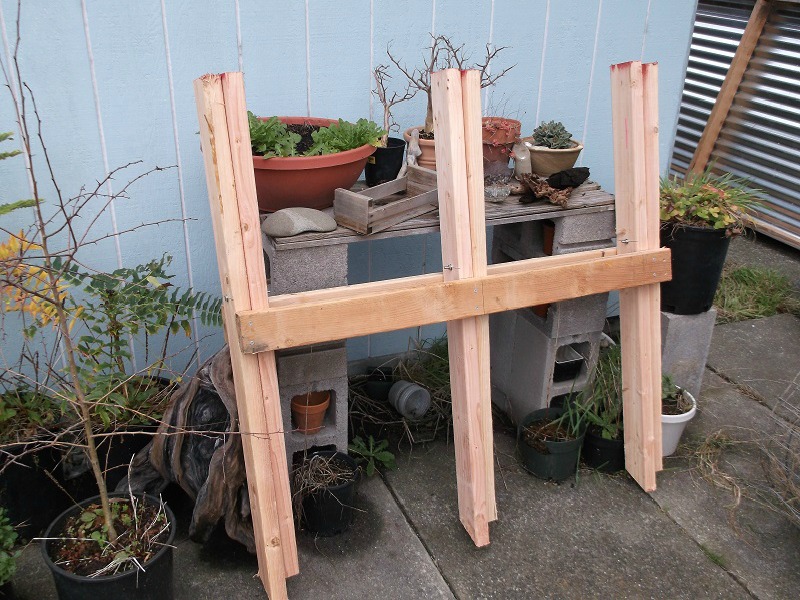
DIY Sawbuck Bench

A sawbuck bench makes it easier to cut long pieces of wood by getting the wood at an ideal height off the ground. This article shows you how to build a sawbuck bench that folds for easier storage.
TOOLS
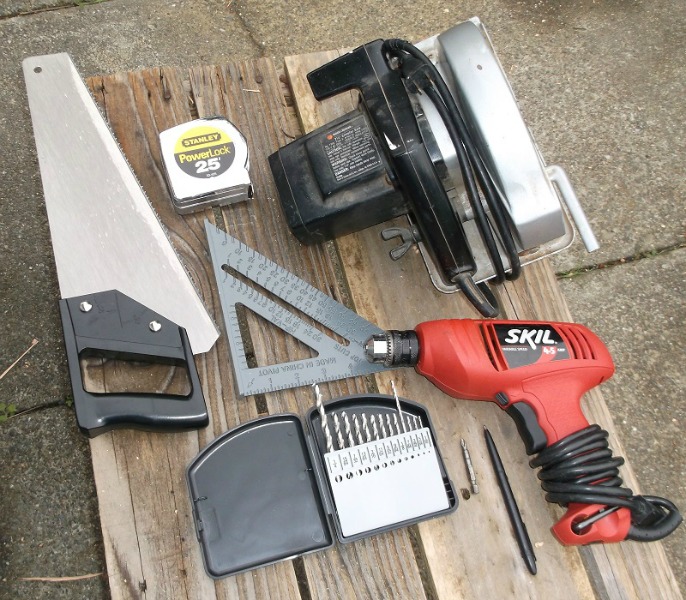 What tools you will need:
Saw (power or hand)
power drill
7/64” drill bit (for drilling 12 pilot holes)
1/4” drill bit (for drilling 3 bolt holes)
Phillips Screw Bit
Measuring Tape
Angle Square
Pen (for marking measurements)
MATERIALS
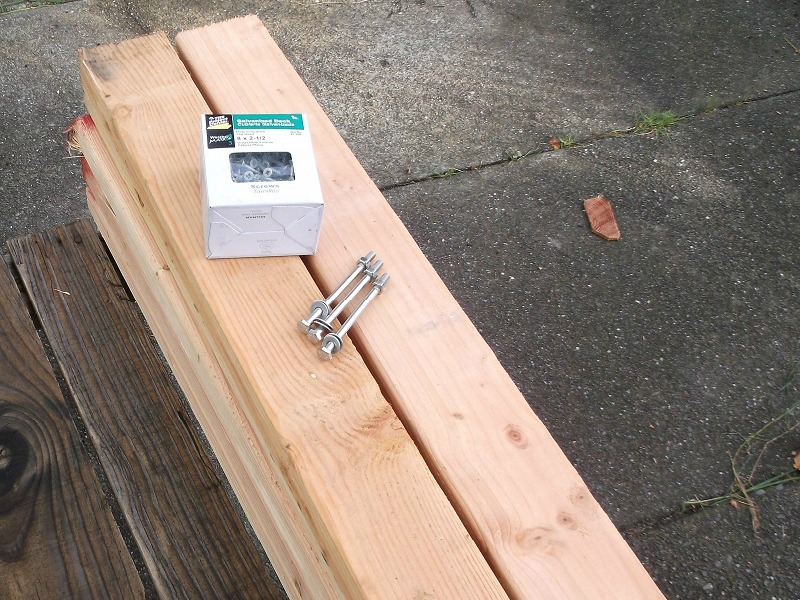 What materials you will need:
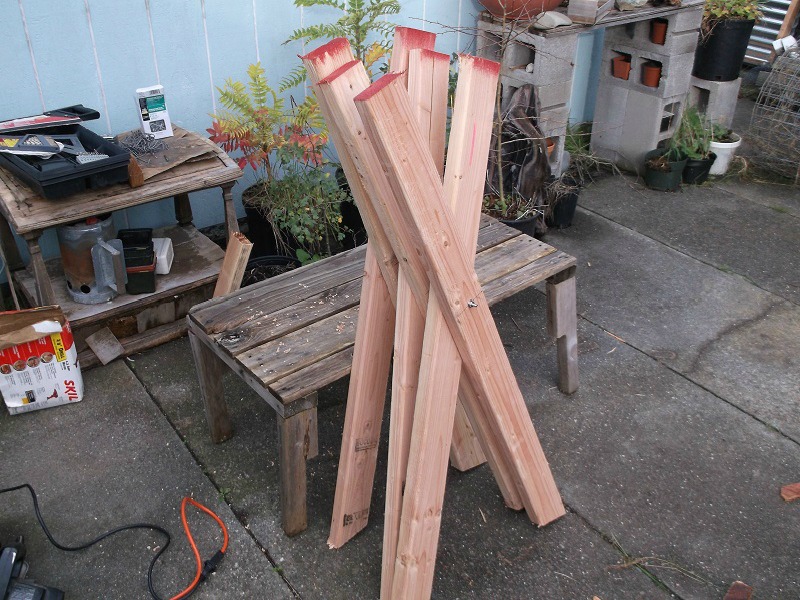
(8) 4′ long 2×4’s
(12) 8 x 2-1/2 Galvanized Deck Screws
(3) 4” x 1/4” stainless bolts
(6) 1/4” washers
(3) 1/4” nuts
CONSTRUCTION
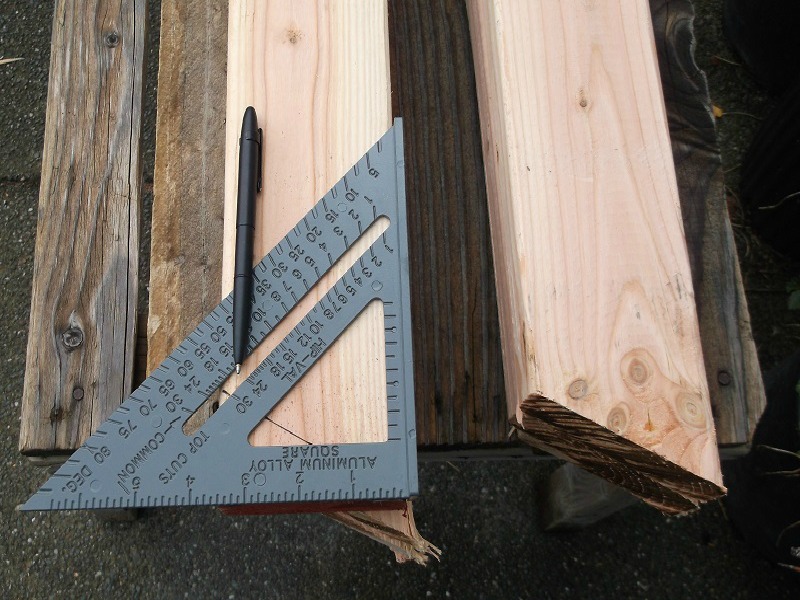 With your angle measure, make a 30 degree angle line at the end of (6) 2×4’s, and then cut.
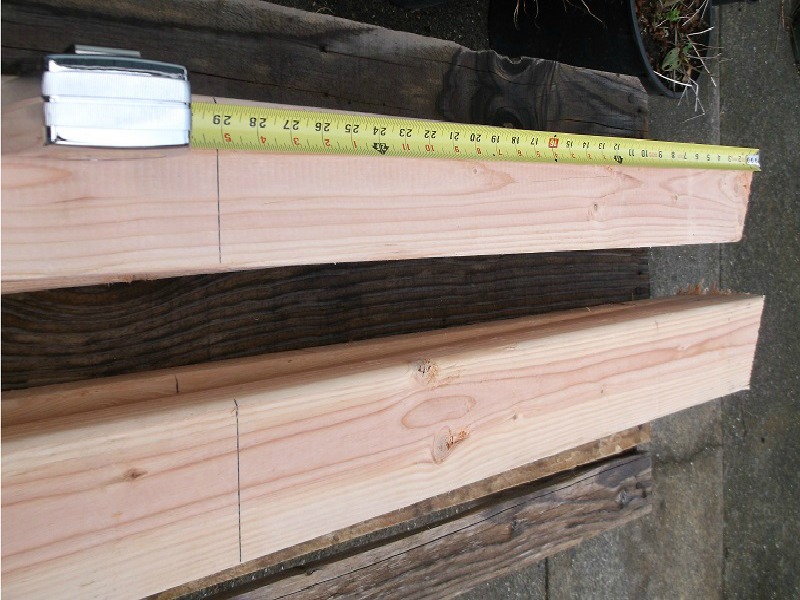 From the long end of the diagonal edge of the 30 degree cut, measure 29”, and draw a line across (6) 2×4’s.
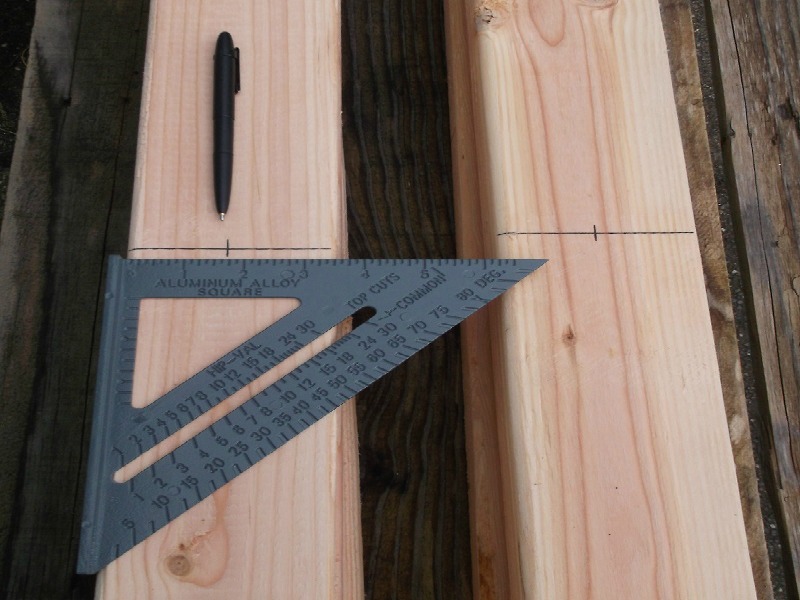 Mark the center of the line you just made at 29”.
 Drill a 1/4” hole at this center mark on each of these (6) 2×4’s.
 Bolt the 3 pairs of angle cut 2×4’s together, using one washer on each side of each 2×4, with the short ends of the 30 degree cuts facing each other.
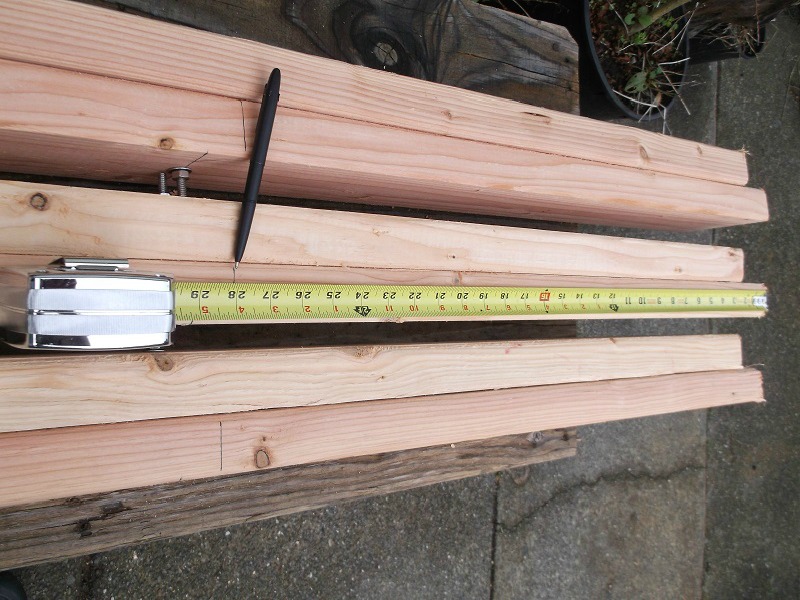 Place the bolted legs on their sides and measure 28” from the long end of the 30 degree diagonal edge, make a line across the width.
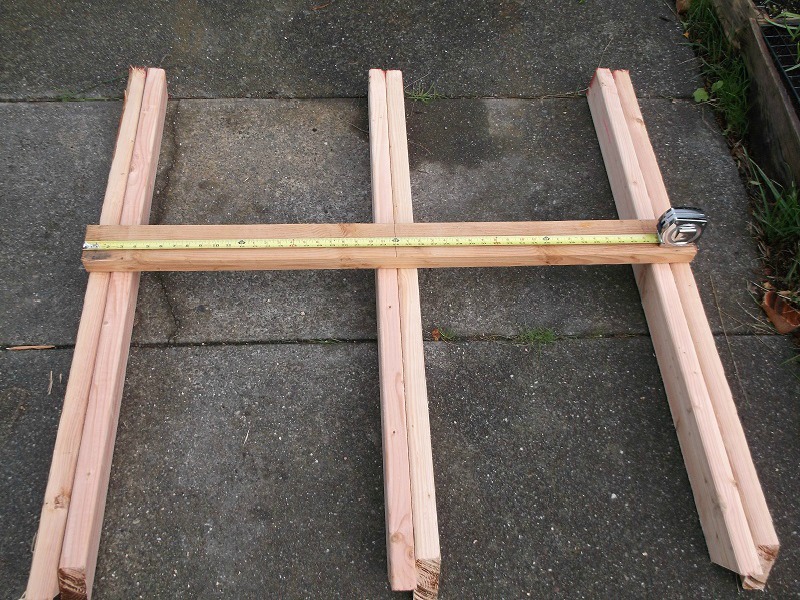 Lay the legs on the ground across 4′, making sure the middle legs are centered at 2′, and place a 4′ 2×4 so it butts up to just under the line at the 28” mark that you just drew from the long edge of the 30 degree diagonal edge. The 4′ long cross 2×4 must span all three legs completely.
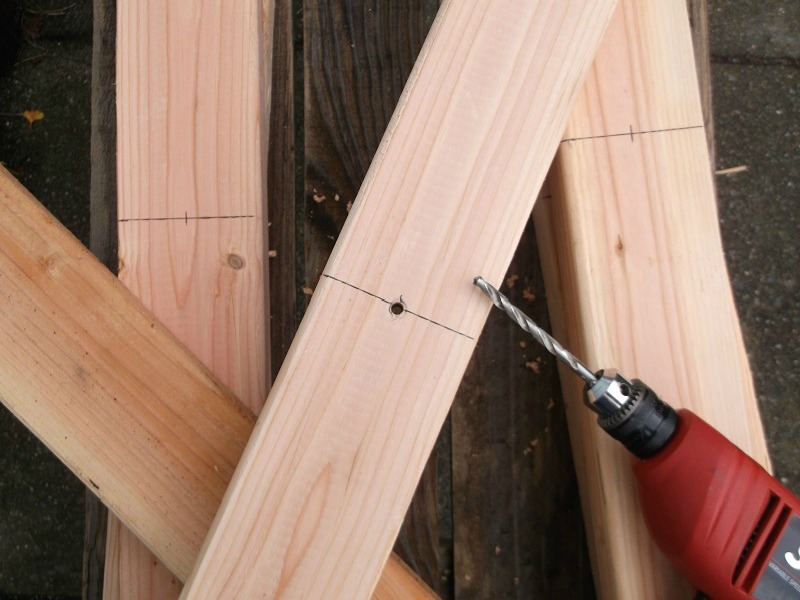
 Drill a 7/64” pilot hole through both 2×4’s at a corner. I drill in only this one screw at first, making it easier to make sure everything is squared up right.
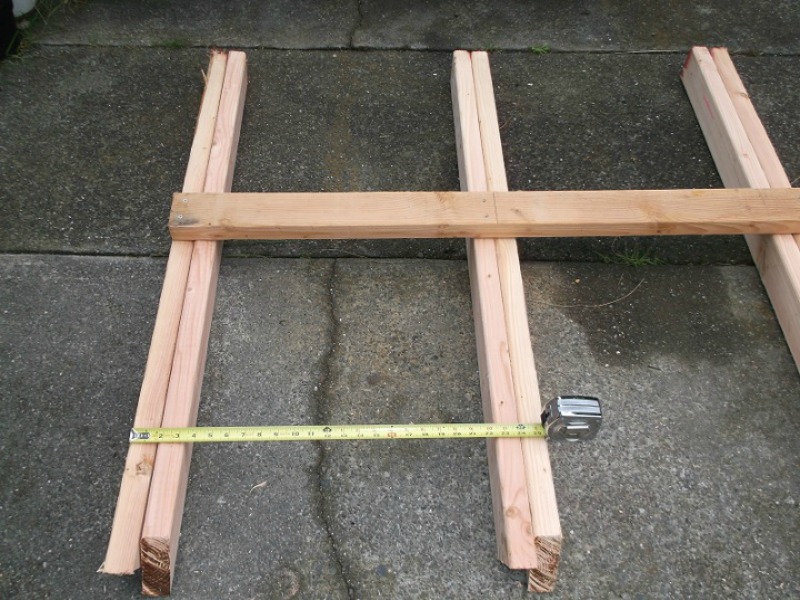 Make sure everything is square and centered, and drill in the remainder of the (6) 8 x 2/12” screws, 2 at each interval.
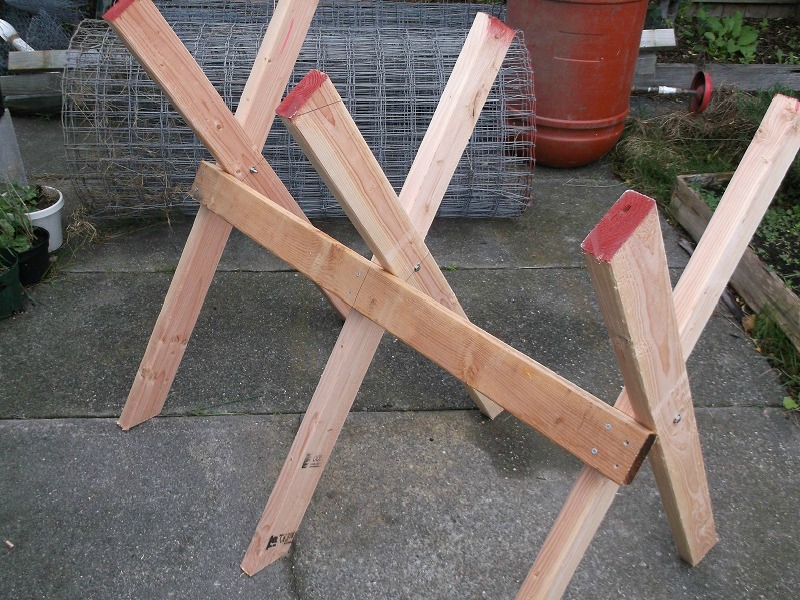 Pick it up and fold it open to see it almost complete and to check you have all the screws in the right places.
Lay it back down on the other side and repeat steps 6 through 9. Now you have a completed folding sawbuck bench.
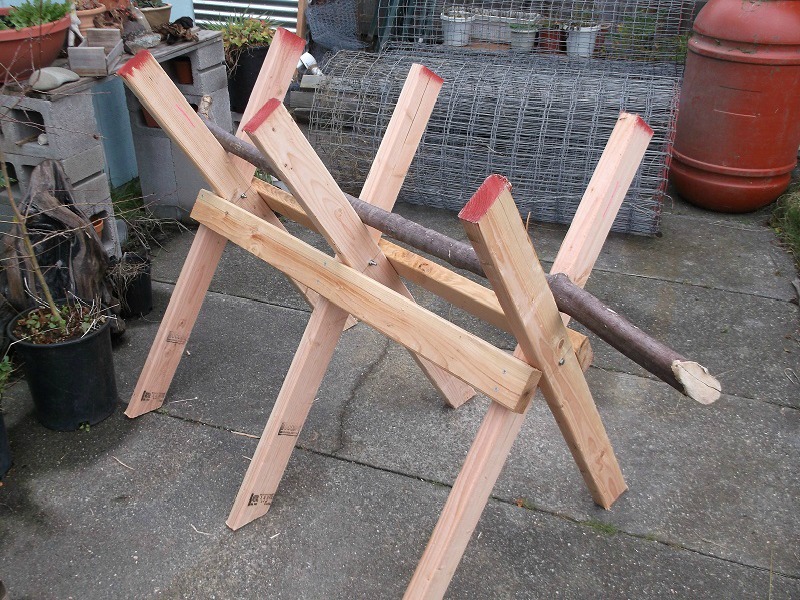 Here is the completed folding sawbuck bench with a piece of wood ready to be cut.
 Here is the complete folding sawbuck bench folded and out of the way.
About Troy Boylan
 Ecoculture Village Founder & President; Anthropology BA, Interdisciplinary Studies: Ethnobotany BS. Two things I think are worth anything at all… all things wilderness and ecoculture.
The post DIY Sawbuck Bench appeared first on Mike's Backyard Nursery.
Source: http://mikesbackyardnursery.com/2015/02/diy-sawbuck-bench/
