

| Online: | |
| Visits: | |
| Stories: |

| Story Views | |
| Now: | |
| Last Hour: | |
| Last 24 Hours: | |
| Total: | |
Planting Knockout Rose Bushes
Monday, April 20, 2015 5:30
% of readers think this story is Fact. Add your two cents.

Many gardeners are interested in Knockout® Rose bushes because of their hardiness and almost effortless maintenance. At first, the patented Knockout rose (introduced in 2000) was touted as being almost indestructible and disease resistant, but these claims have been challenged within the past few years with the discovery of Rose rosette disease running rampant on this once invincible plant. Rose rosette is caused by a virus first discovered in the western U.S. around 1940. The virus is principally spread by tiny eriophyid mites — so tiny, in fact, that they literally blow into gardens on the wind. When they feed on a rose, they transmit the virus.
The plant patent law prohibits non-licensed growers, including home owners from propagating plants by any type of asexual method. You can’t grow cuttings or divide the plants, nor can you layer stems or graft cuttings onto other bushes. You also cannot use root cuttings, tissue culture or runners to make new plants.
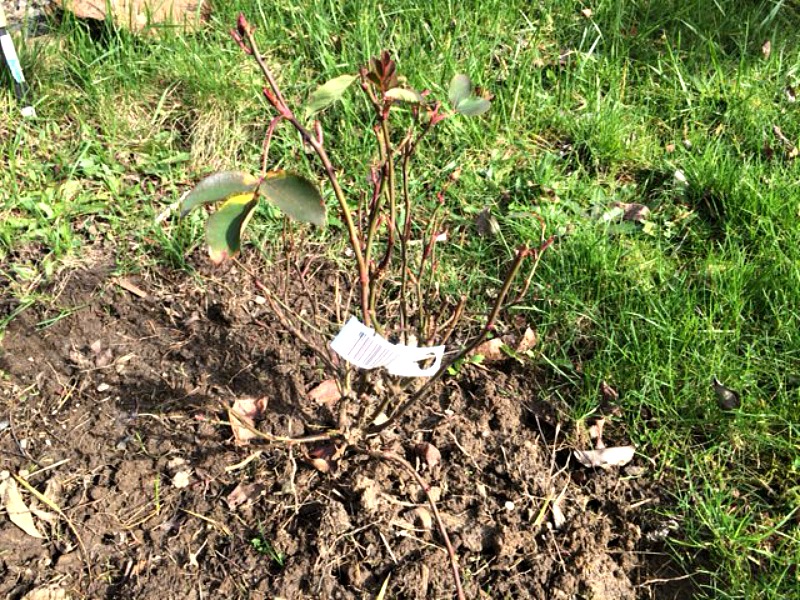
In the photos you will notice the yellow plastic pot that the Knockout Rose bush came in. This pot is the only acceptable container in which to sell a Knockout rose according to their patent.
I selected a Knockout rose, a type of rose shrub that, while it isn’t completely impervious to diseases, is resistant to many diseases that typically affect roses. Known for being an abundant bloomer, it flowers from late spring to first frost with fresh blooms every six weeks or so. It needs a little pruning now and again and wouldn’t say no to a little well-balanced fertilizer monthly but that’s about it. It doesn’t even need deadheading. This rose should be perfect.
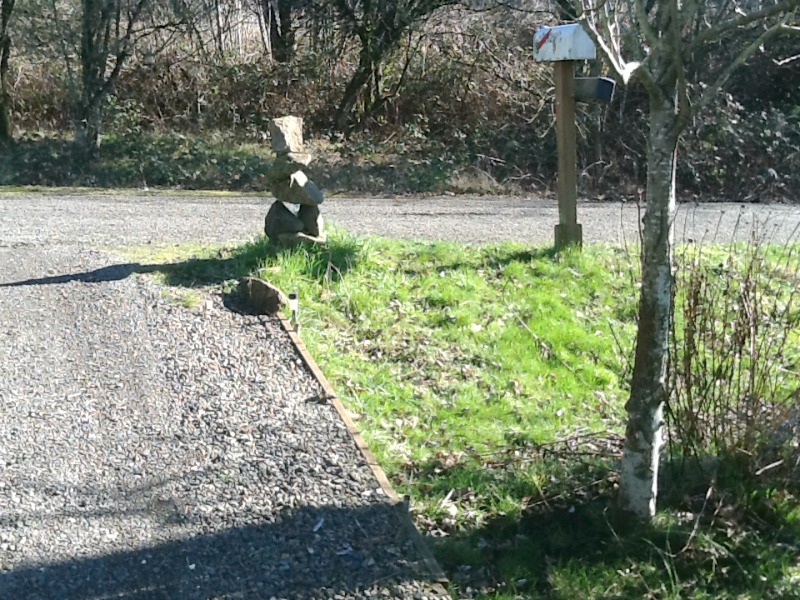
I had a plain, neglected area at the top of the driveway where I wanted something ornamental and carefree. The area has full sun and pretty good drainage. I needed something that would occupy a 3 food area and grow about 4 feet high.
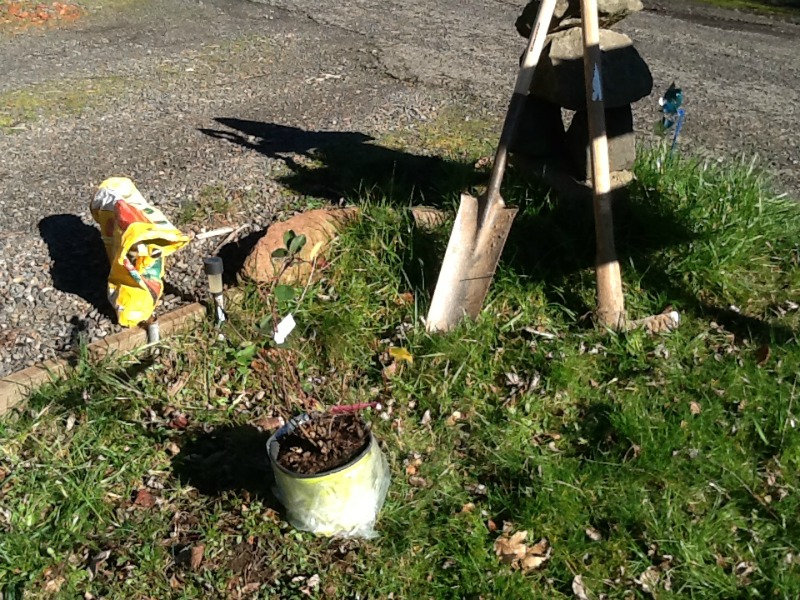 I didn’t need much to get started. My equipment included a pickaxe and a shovel. I also had some soil amendments to lighten up the soil.
Although Knockout roses have few demands from the soils they are planted in, I know this soil is heavy and I wanted to lighten it up with some commercial compost I had on hand.
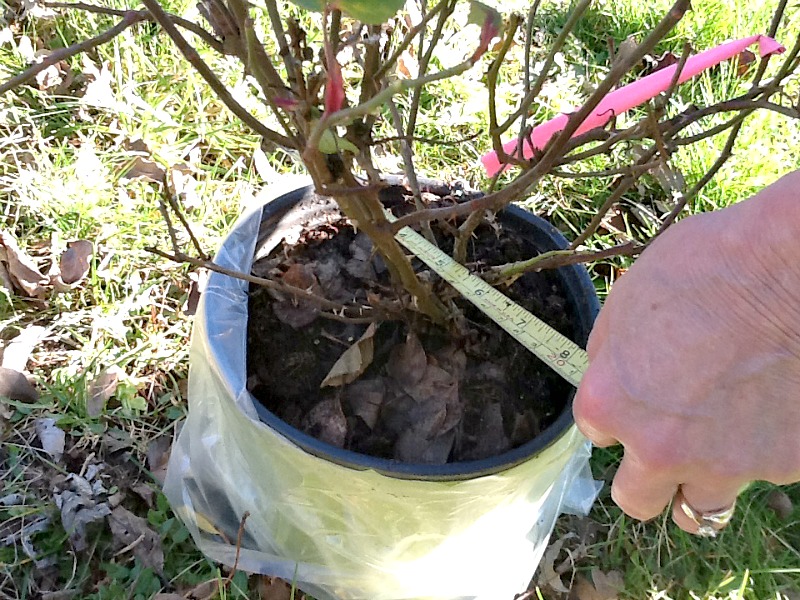 Dig a hole twice as wide as the pot the rose was in and just as deep.
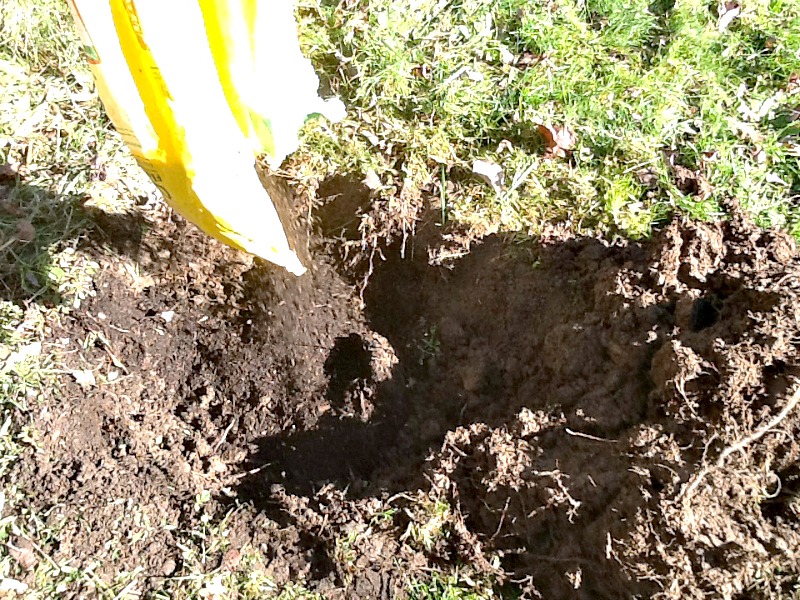 I dug a little deeper and added the compost.
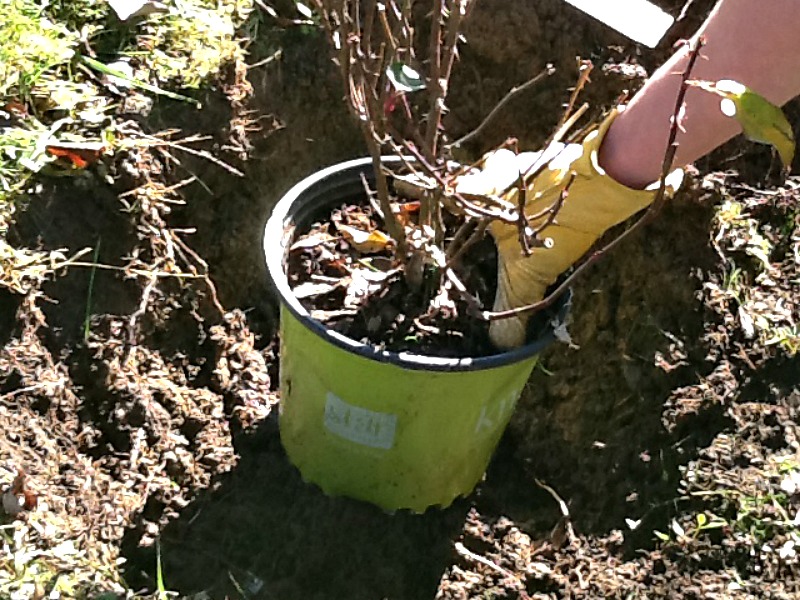 Place the rose in the hole to make sure the final depth is correct.
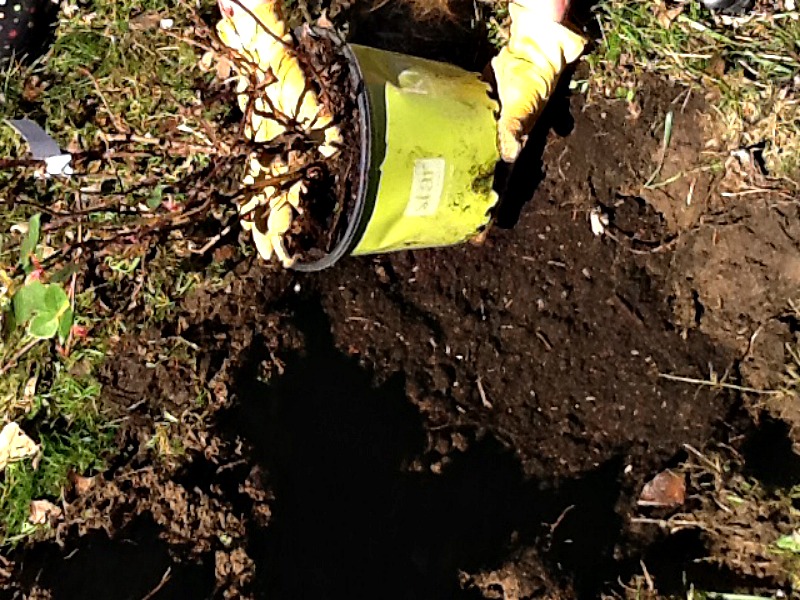 Remove rose from pot.
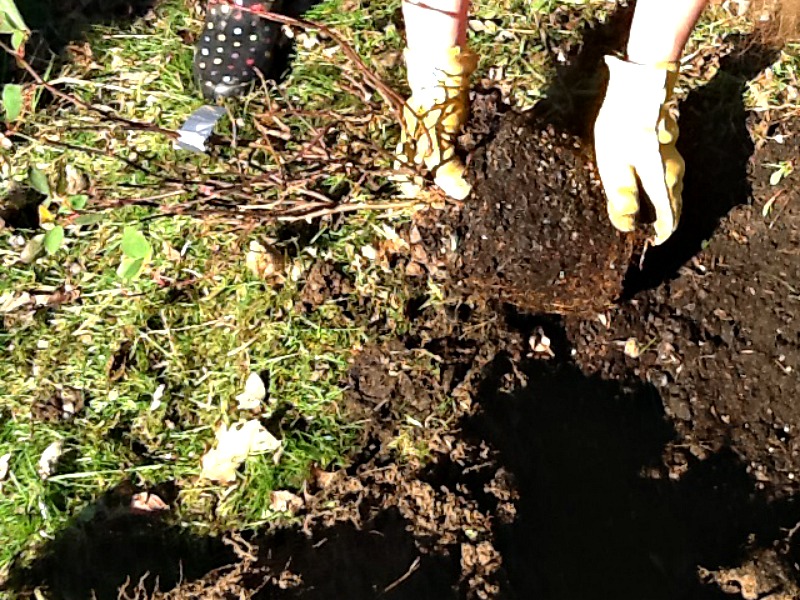 Break up any compacted roots and free them up so they can spread out.
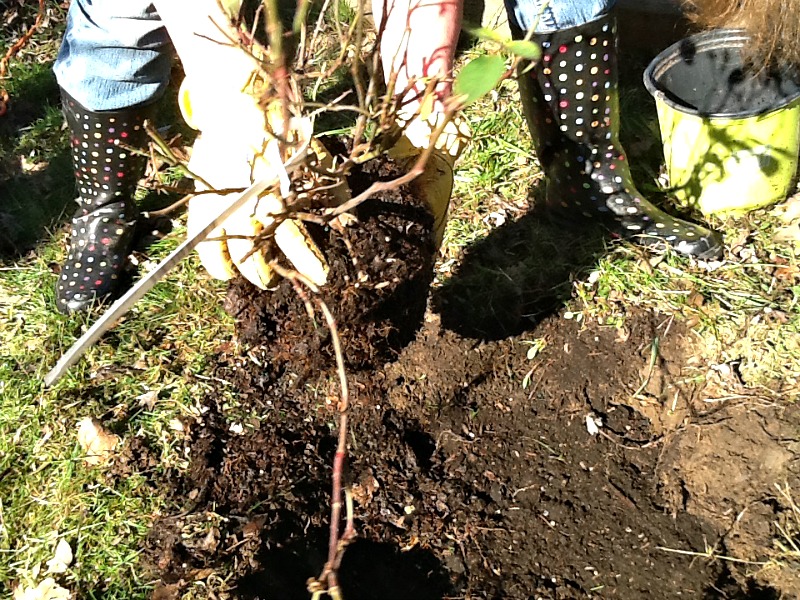
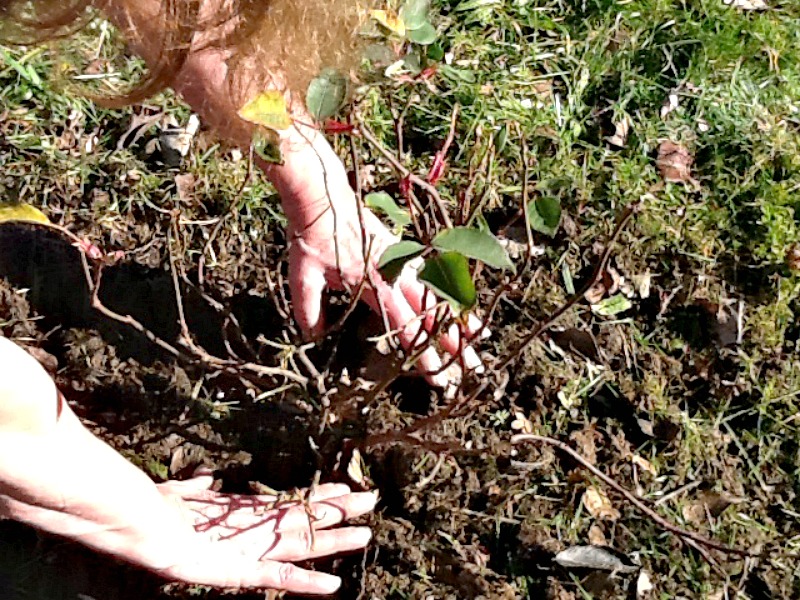 Make sure the the dirt if firmly padded into place to help eliminate air pockets that can damage the roots.
 Water the rose in. Regular watering will be required while the plant settles in and then once a week or so during the summer.
 And here, two weeks after planting, you can see the new shoots coming in. With this quick growing shrub, I will transform this lackluster part of the yard into a welcoming flower drenched entrance.
Dig a hole twice as wide as the pot the rose was in and just as deep.I dug a little deeper and added the compost.Place the rose in the hole to make sure the final depth is correct.Remove rose from pot.Break up any compacted roots and free them up so they can spread out.Make sure the the dirt if firmly padded into place to help eliminate air pockets that can damage the roots. Water the rose in. Regular watering will be required while the plant settles in and then once a week or so during the summer.And here, two weeks after planting, you can see the new shoots coming in. With this quick growing shrub, I will transform this lackluster part of the yard into a welcoming flower drenched entrance.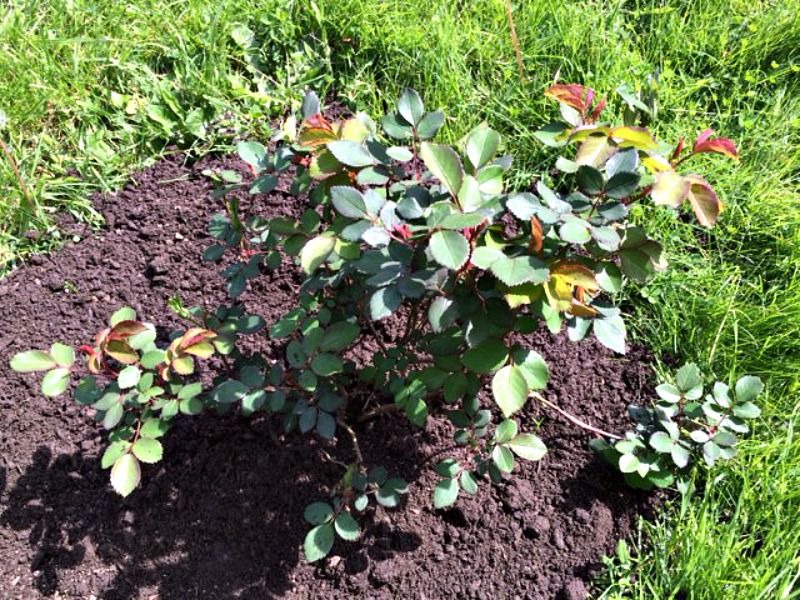 And here a few months later, the plant has filled out very nicely.
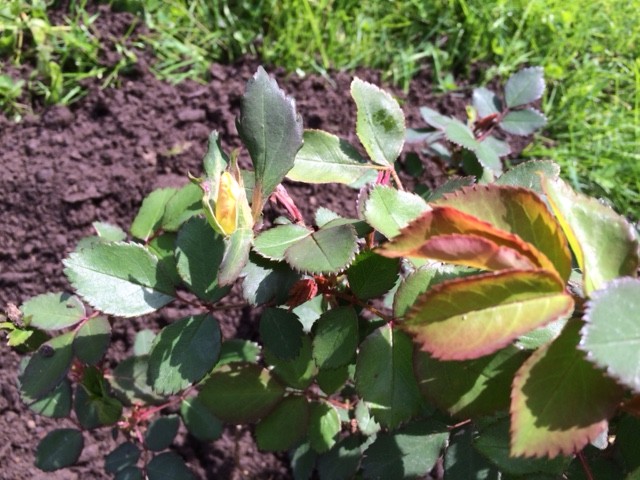 Look! I found a beautiful little yellow bud!
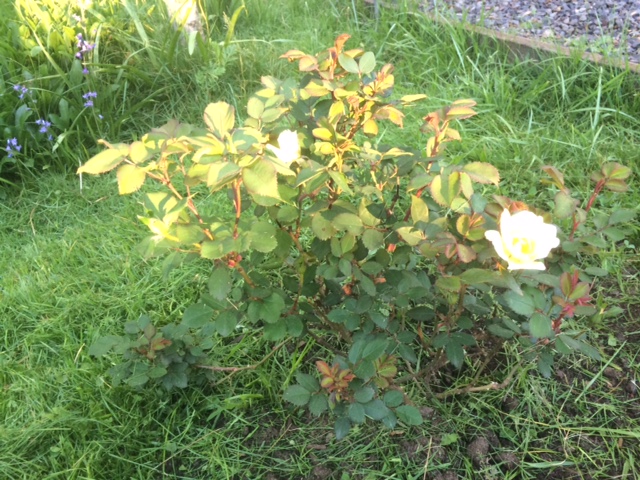

Source: http://mikesbackyardnursery.com/2015/04/planting-knockout-rose-bushes/
