

| Online: | |
| Visits: | |
| Stories: |
| Story Views | |
| Now: | |
| Last Hour: | |
| Last 24 Hours: | |
| Total: | |
My First Beehive

Starting our first hive of honeybees was on our goal list this year. This venture was not totally foreign to me, because I had a hive of bees a number of years ago. Sadly I had to move before I ever harvested any honey, so my experience was extremely limited. As I began to do my honeybee homework this time, I started to run across the term “natural beekeeping.” How could I not help but follow up on that?
 |
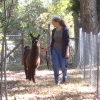
| I showed you the kit in my “Around The Homestead” post. Here it is assembled. |
Long story short, I learned about top bar hives, starting with an article entitled “Less Invasive Beekeeping“, and then “The Best Bee Hive.” Perhaps it was because the Warré hive is the most hands-off and least invasive, perhaps because it is most economical, or because it has a smaller footprint than the common Langstroth hive. Or maybe it was because I liked the pagoda-like look of it. Anyway, I chose to get a Warré hive.
This particular design was developed by Frenchman Abbé Emile Warré in the first half of the 20th century. In a nutshell, Warré thought that beekeeping should accommodate the bees, rather than requiring the bees accommodate the beekeeper. His hive design was based on observations made during his several decades of keeping them. He called it the Peoples' Hive, because he thought beekeeping ought to be economical enough for everyone to do. This meant a hive design that was simple and affordable to build, even for the average person. All of this appealed to me tremendously, so I'm going to give it a go!
Economical is somewhat relative, of course. The plans are included in Warré's book Beekeeping For All and could be made out of scrap lumber. The English translation of the book is available as a free download here (at the bottom of the left-hand sidebar), or as a not free paperback here. For those not inclined to build, beautifully finished complete hives are available for a lot of $$. For my first hive I chose the middle path and bought a kit.
Here are some close-ups of the parts of this hive.
 |
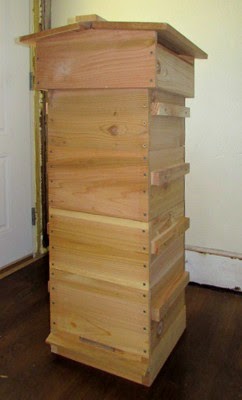
| Pre-assembled bottom boards included solid or screened. Because of our hot summers I chose the screened bottom to allow for better ventilation. |
 |
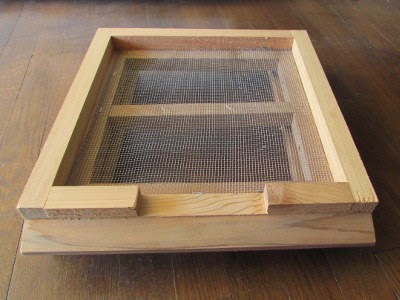
| A piece of plywood cut to fit was included, although no explanation was given as to it's purpose (it isn't included in the original plans). Perhaps to close off the bottom during winter or do Varroa mite counts? I don't know. |
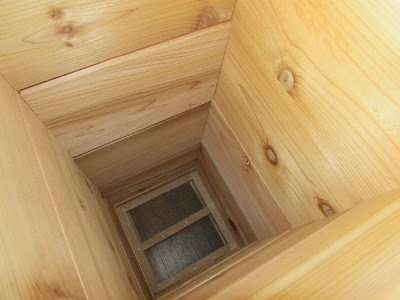 |
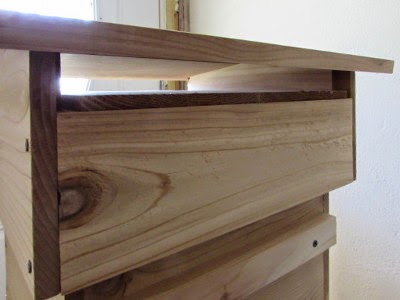
| At 300 mm by 300 mm, the hive bodies are said to mimic the inside of a hollow tree. The “grooves” in the side are where the top bars go. |
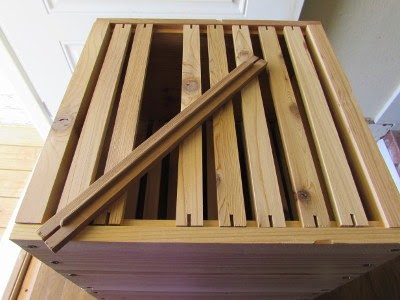 |
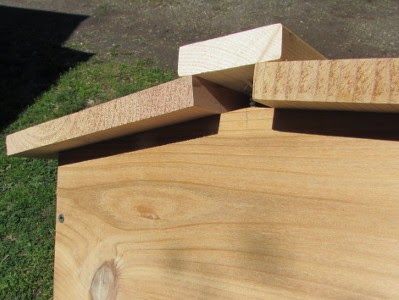
| They are called top bar hives because there are no frames & no foundation for the comb, only bars set in place at the top of each box. Melted bees wax is applied to the ridge of each bar & the bees draw their own comb. |
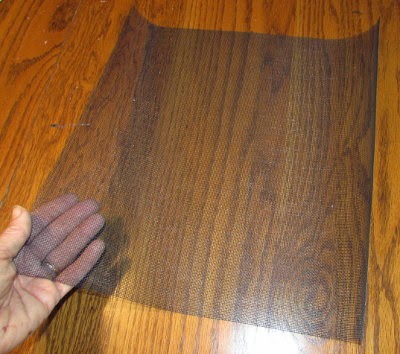 |
| A square of fiberglass window screening goes on top of the top box. This didn't come with my kit nor is it mentioned in Warré's book, but I picked up the idea from watching a couple of videos. It prevents the bees from propolizing (bee gluing) and and chewing through the quilt (below). |
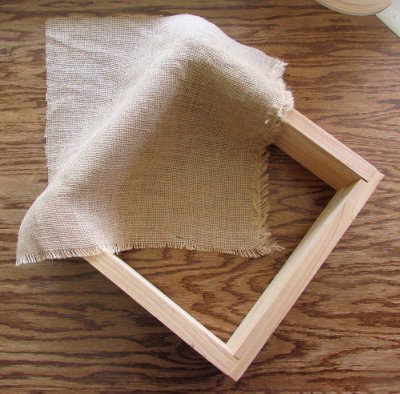 |
| The quilt box is next and is for insulation. I'll show you details about it soon. |
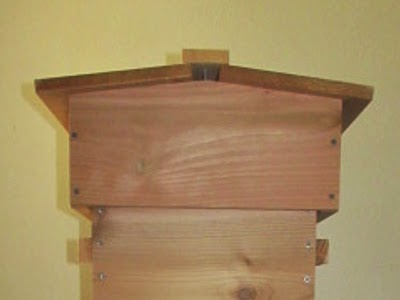 |
| The roof section fits over and conceals the quilt box. It has two vents. |
 |
| Eaves vent |
 |
| Ridge vent |
The stackable hive boxes are all the same size. Two are usually used for overwintering. In the spring, when things start blooming, more boxes are added to the bottom of the hive (called nadiring) rather than the top (supering). This accommodates the natural downward movement of the queen as the bees build more comb and she lays brood. As the brood hatches and leaves empty comb behind, the bees fill it with honey. All (or most) of the honey is in the top boxes, which is where harvest takes place, simply removing the top hive box. Theoretically, it is possible to prevent swarming because the bees never run out of room(!) No queen excluder is required because the beekeeper knows that the queen and brood are in the bottom boxes. Bee escapes (one way bee doors) can be added prior to harvest if desired, although opening the hive frequently is discouraged. The idea is to retain the warmth and scent of the hive (called Nestduftwarmebindung). On occasion, when the nectar flow is heavy, boxes may be supered by adding them to the top.
So say the books! It's all head knowledge to me at this point, but stay tuned as I drag you through my learning process in upcoming posts. No guarantees of success, but I'm gonna give it my best try.
Source: http://www.5acresandadream.com/2015/04/my-first-beehive.html
