


| Story Views | |
| Now: | |
| Last Hour: | |
| Last 24 Hours: | |
| Total: | |
Martinmas Lantern Tutorial & Can I sheepishly ask for your help?

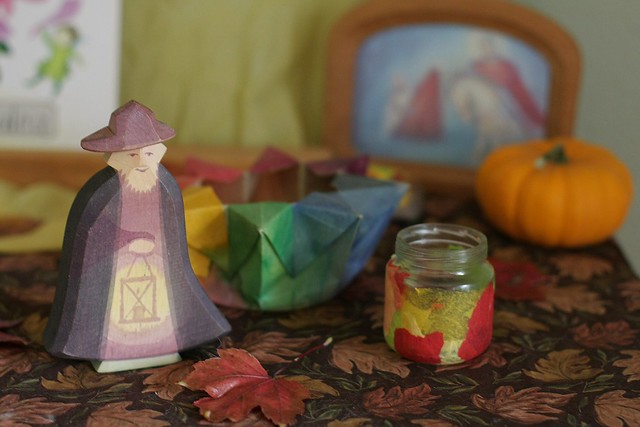
Each year my little ones and I celebrate Martinmas by dipping leaves in beeswax, donating clothing to the poor and, of course, making lanterns to carry on our lantern walk. We have been celebrating for about 6 years now so we have quite a collection of lanterns around the house, all made with various methods and supplies. (You can see our past celebrations here) This year C and I wanted to try something different from all of those we made in the past. We found an ornament in Festivals, Family and Food that we thought would make a perfect lantern, but we had to figure out how to modify it. We pretty much winged it but I took some pictures along the way and thought I would share them with you.
I think one of the crucial elements to making this work as a lantern you can carry (vs. an ornament or tabletop lantern) is thick, sturdy watercolor paper. We used this hemp watercolor paper. We might try making another lantern but this time painting the paper with oil after she paints it with watercolors (like we do with our star lanterns). This makes the light shine through even more beautifully.

We started by having C paint her watercolor paper (in the wet on wet method) and then let it dry overnight. I actually had her paint two pieces of paper in case my ‘fly by the seat of my pants’ crafting failed – which has been known to happen more often than not.

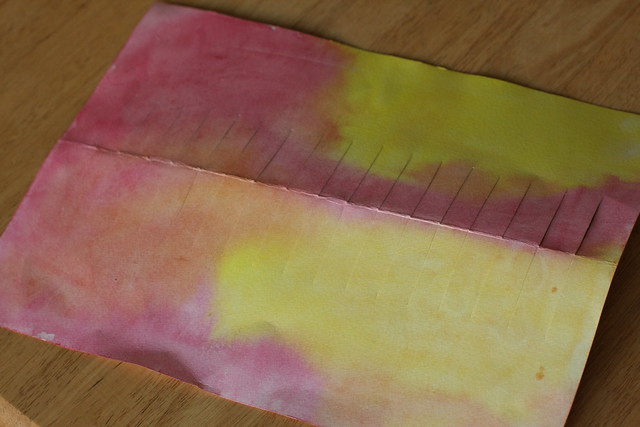
Once it was dry we gently folded the paper in half lengthwise.
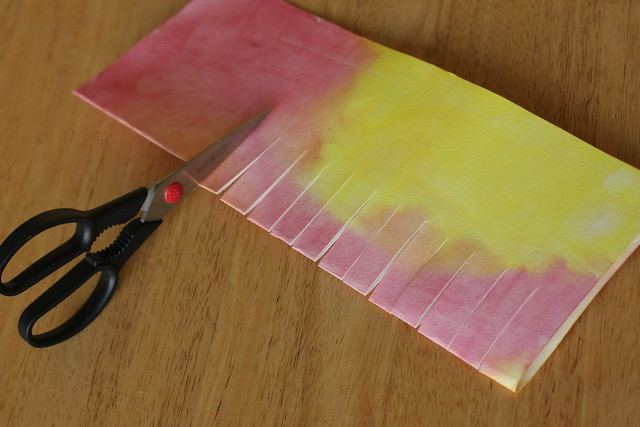
Then we took scissors and cut along the fold making each cut about 1″ apart and leaving the ends slightly wider for gluing together later on.
At this point we cut the bottom of the paper to make it have a base. I didn’t take any pictures of this step, unfortunately but my friend Erin has a great photo tutorial on it here.
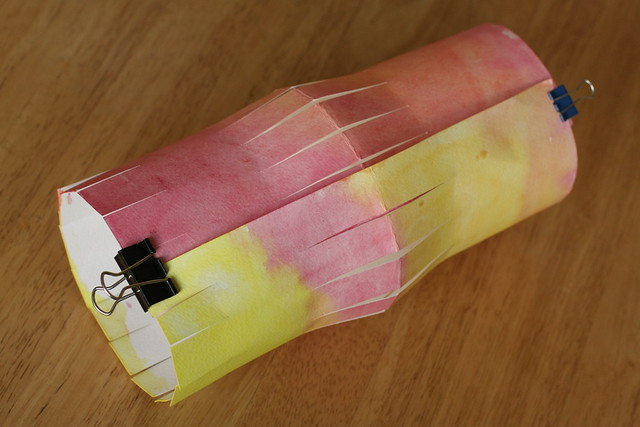
After the base was prepared, we painted some heavy duty glue on to one of the wider sides (you could staple them instead if you wish) and folded the paper over making sure to overlap the ends. Clip in place to secure and let dry.
While we were waiting for our lantern to dry, C finger knit a handle to be attached. She finger knit maybe about 12″ or so. We made sure to leave tails at both ends of her finger knitting for tying into the lantern.
Once it was dry, we created the base (again, follow Erin’s tutorial for that) and glued it in place. Then we cut a piece of cardboard the same size as the lantern’s base
and glued it in the bottom to make it sturdier. After those pieces dried we glued a tea light candle on to the center of the cardboard
inside the lantern. Don’t forget this step! Gluing the candle in place prevents it from moving around and even possibly catching the lantern on fire.
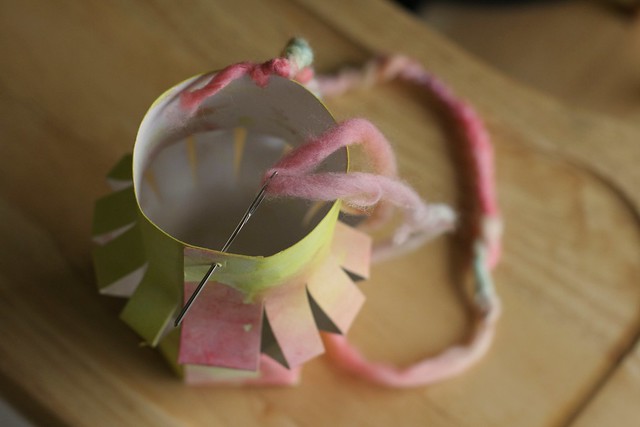
We finished off her lantern by cutting holes across from each other at the top of the lantern, threading her finger knitting tails through and tying knots.
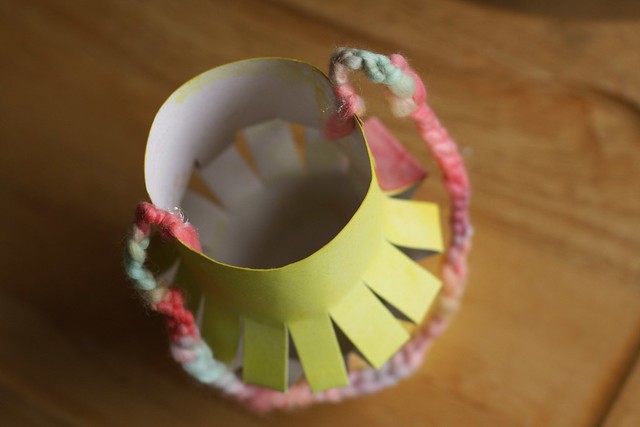
The tails were trimmed and then glued down to the inside of the lantern just to make it look nicer.

Tah dah! The lantern is done. Now it sits on our nature table waiting for our lantern walk. We will be doing two (again) this year. One this Friday after K’s Martinmas pageant and then one on Martinmas. (Nov. 11th)
In other news –
I am completely floored – I really can’t even begin to tell you what this means to me. Thank you. Just to be nominated is so huge to me but could I ask a favor of you? If you enjoy stopping by this space – Would you mind voting for me? It’s totally not about winning (believe me, I know this little space of mine doesn’t stand a chance against these big name blogs) but things have been quite down lately and this really brightened my day. It would be nice to know someone, somewhere out there picked me, does that make sense?
I know it’s a long shot, all of the blogs on there are incredible and I have to say how shocked I am to be among them. I wouldn’t trouble you with this, but if I did happen to win any of these I would also get much needed homeschooling supplies and necessities. We could really use this so I figure it’s worth a shot.
Here’s the info -
Click the links below (or on the top of my sidebar) The list is in alphabetical order so go a little ways down to F for Frontier Dreams. Click on the dot next to Frontier Dreams and then click ‘vote’. Easy Peasy! You can vote once a day, every day until Nov 16th.Three categories to vote in:
http://hsbapost.com/best-crafts-plans-projects-blog-2012/
hsbapost.com/best-homeschooling-naturefield-trip-blog-2012/
http://hsbapost.com/best-homeschooling-methods-blog-2012/
Thank you so very much from the very bottom of my heart for the nomination and for taking the time to vote for me!!
2012-11-08 00:45:23
Source: http://frontierdreams.blogspot.com/2012/11/martinmas-lantern-tutorial-can-i.html
Source:
